Two opposing economic logics
3D printing and plastic injection moulding don't differ on quality but on the structure of their costs.
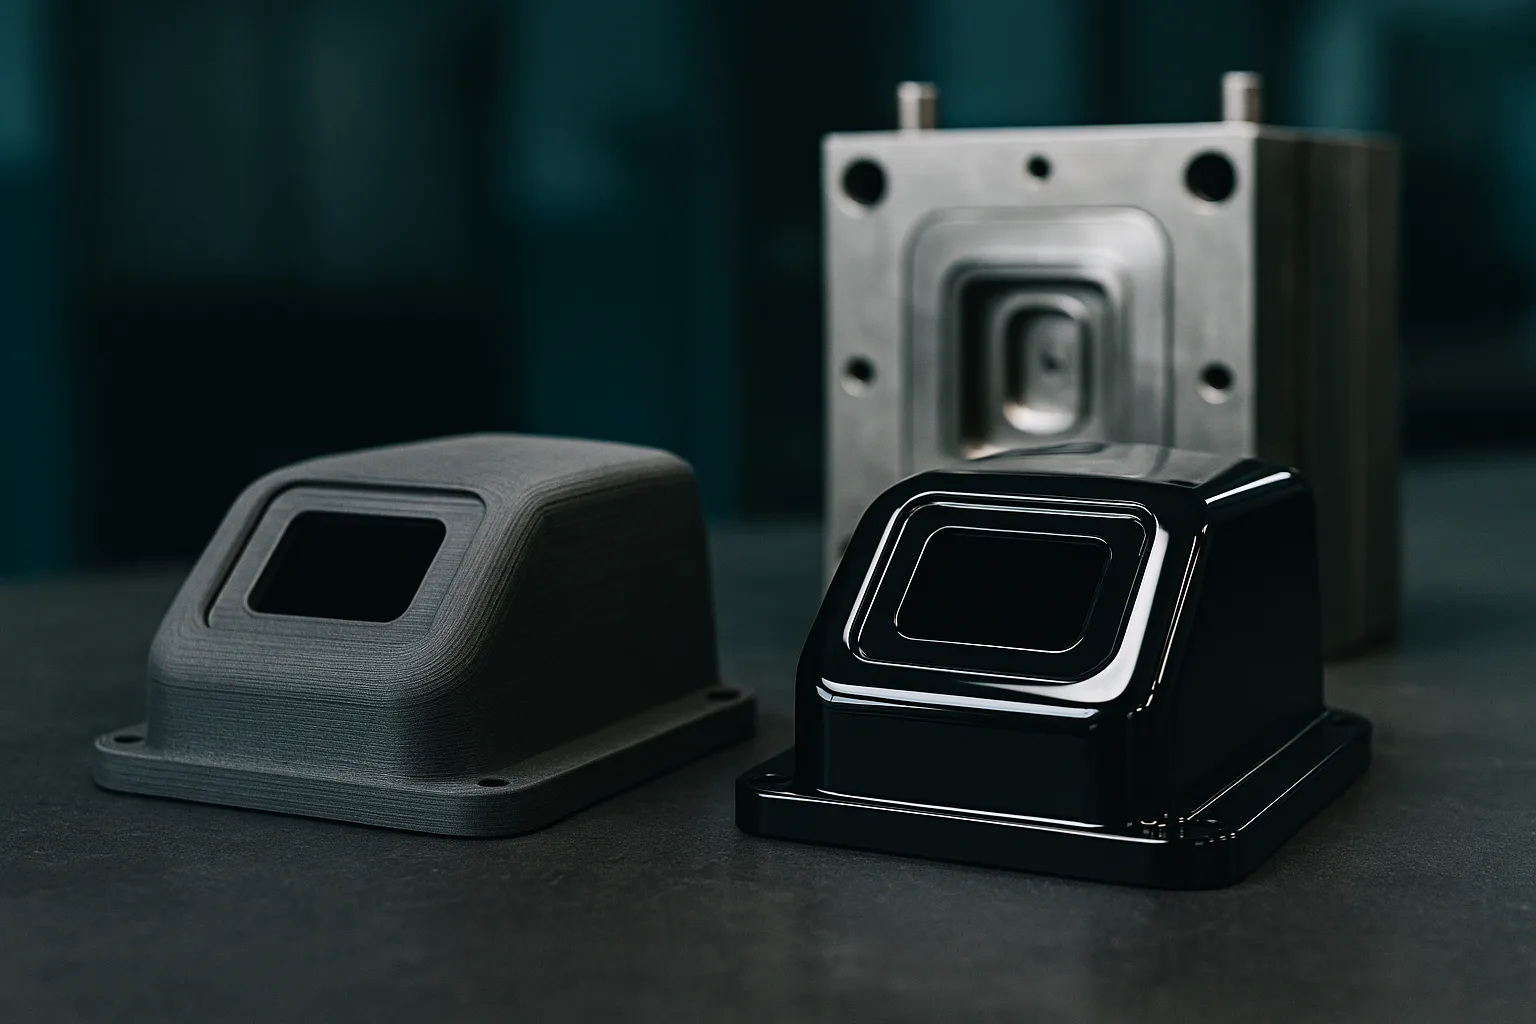
- Injection moulding relies on a metal mould machined specifically for the part. This mould represents a significant fixed cost, paid once before the first part. After that, each part comes out in a few seconds to a few tens of seconds, for a low unit cost.
- 3D printing has practically no fixed cost: no tooling, just a file to prepare. On the other hand, each part occupies a machine for minutes or hours, and its unit cost stays roughly constant regardless of quantity.
In other words, injection moulding becomes increasingly advantageous as quantity increases, while 3D printing is unbeatable for small quantities. Between the two lies a break-even quantity.
Comparing the two processes
| Criterion | 3D printing | Plastic injection moulding |
|---|---|---|
| Start-up cost | Almost none (file preparation) | High: mould design and manufacturing |
| Cost per part | Higher, stable with quantity | Low, decreases with quantity |
| Lead time for the first part | Hours to days | Several weeks, the time to make and fine-tune the mould |
| Design changes | Immediate, at no extra cost | Requires mould rework, costly and sometimes impossible |
| Design freedom | Very high: undercuts, internal channels, consolidated parts | Constraints: draft angles, uniform thicknesses, parting line, ejection |
| Materials | Thermoplastics and resins suited to printing | Very wide catalogue of technical, filled, flame-retardant thermoplastics |
| Mechanical properties | Anisotropic in FDM (weaker between layers) | Homogeneous, properties documented by material suppliers |
| Surface finish | Layer ridges in FDM, smooth in SLA; finishes possible | Reproduces the mould surface: smooth, textured or grained |
| Customisation | Each part can be different | All parts identical |
Finding the break-even quantity
The reasoning is simple, even though the figures depend on each part. You need to compare the total cost of both options for a given quantity:
- Total injection cost = mould cost + (injected unit cost × quantity)
- Total 3D printing cost = printed unit cost × quantity
The break-even quantity is the one at which these two costs are equal. It's obtained by dividing the mould cost by the gap between the printed unit cost and the injected unit cost:
Break-even quantity ≈ mould cost ÷ (printed unit cost − injected unit cost)
Below this quantity, 3D printing costs less overall; above it, injection moulding wins out. To give an order of magnitude: an injection mould generally costs from a few thousand to several tens of thousands of euros, depending on the part's size, its complexity (side-actions, cores, number of cavities) and the mould material. With these gaps, the break-even quantity often falls between a few hundred and a few thousand parts. It drops for large parts that take a long time to print, and rises for small, simple parts that print quickly and in large numbers on the same plate.
What the calculation doesn't tell you
The break-even quantity is a starting point, not a decision. Several factors shift it:
- Volume uncertainty: if you're not sure you'll sell the planned quantity, a mould remains a gamble. 3D printing reduces this risk.
- Design stability: a product still likely to change will require a mould rework with every change.
- Time to market: selling several weeks earlier can be worth more than a lower unit cost.
- Stock and cash flow: injection moulding is cost-effective in large batches, which have to be stored and financed. Printing lets you produce as demand arises.
- Required properties: if the part must be certified in a specific material or reach properties that printing can't guarantee, injection moulding is required regardless of quantity.
Additional costs to factor in
An honest comparison doesn't stop at the mould and the unit price. On the injection side, add mould fine-tuning (trials, samples, corrections), any minimum order quantities per batch, mould storage and maintenance, and the cost of a modification if the design changes. On the 3D printing side, factor in each part's post-processing (support removal, finishing, inserts) and inspection, which repeat with every unit instead of being absorbed by the tooling. These items can shift the break-even quantity significantly, in either direction.
To estimate the printed unit cost of your part, the factors to consider are detailed in our guide to the price of 3D printing.
To make the calculation more reliable, have the actual part printed in a small quantity: you get a measured unit cost, not an estimated one. At the same time, ask a moulder for a mould quote on the same finalised geometry. With these two real figures, the break-even quantity can be calculated in one line.
Bridge production: using both processes
The choice isn't always exclusive. A common strategy is to chain the processes together:
- Printed prototypes to validate shape, assembly and function, with fast iterations. Our guide to rapid prototyping and small batches details this phase.
- Printed pre-production run to deliver to the first customers, test the market and gather field feedback while the design settles.
- Bridge production while the mould is being made: 3D printing supplies parts during the weeks needed to machine and fine-tune it.
- Injection moulding once the design is locked and volumes are confirmed.
- Back to printing at end of life: when volumes drop off, spare parts can be printed on demand instead of maintaining a stock or a mould.
This approach reduces the risk of a mould being commissioned too early and allows selling before the tooling is ready. It does, however, require designing a part compatible with both processes, or accepting a slight adaptation when switching to injection moulding.
Designing with what comes next in mind
If injection moulding is being considered down the line, a few precautions during the printed phase avoid a complete redesign:
- Uniform wall thicknesses: essential in injection moulding to avoid sink marks and warping, and they don't hinder printing.
- Draft angles: plan from the start for a slight angle on faces parallel to the mould opening direction.
- Limited undercuts: every undercut adds a side-action to the mould and raises tooling costs. What's free in 3D printing no longer is in injection moulding.
- Ribs rather than solid masses, with thicknesses less than that of the wall they support.
- Parametric model: much simpler to adapt than a mesh. See parametric model or mesh.
Conversely, if the part will remain printed, take full advantage of the design freedom: part consolidation, internal channels, lightweight structures. The rules specific to the process are explained in our guide to 3D printing technologies, and the choice of material in our guide to 3D printing materials.
In summary: how to decide
- A few units to a few hundred, design still in flux, urgent need or customisation: 3D printing.
- Several thousand identical parts, locked design, guaranteed volumes: injection moulding.
- In between: calculate the break-even quantity with real figures, then weigh it against commercial risk, lead time and cash flow. Bridge production often lets you avoid deciding too early.
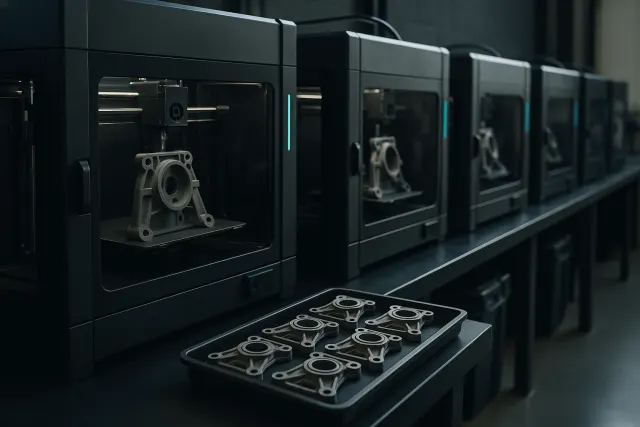
To launch a pre-production run or bridge production, the Timelapse-3D workshop prints continuously across more than twenty machines, with round-the-clock production and delivery across France. You can also generate and price a simple part directly from the AI 3D Studio.
Frequently asked questions
From how many parts does injection moulding become more cost-effective than 3D printing?
There's no universal figure: the break-even quantity is calculated by dividing the mould cost by the unit-cost gap between the two processes. It often falls between a few hundred and a few thousand parts, depending on the part's size and complexity.
How much does a plastic injection mould cost?
A mould generally costs from a few thousand to several tens of thousands of euros. The price depends on the part's size, the number of cavities, the side-actions and cores needed for undercuts, and the mould material. Only a moulder's quote on the final geometry gives a reliable figure.
Is a 3D-printed part as strong as an injection-moulded one?
Not always with an equivalent material: an FDM part is weaker between its layers, while an injection-moulded part is more homogeneous. Suitable design and orientation make up for much of this gap, and materials like carbon-fiber-filled nylon offer good performance.
What is bridge production in 3D printing?
It's the use of 3D printing to supply parts while the injection mould is being made or fine-tuned. It allows delivery to start earlier and feedback to be gathered before the design is definitively locked.