Why 3D print motorhome parts
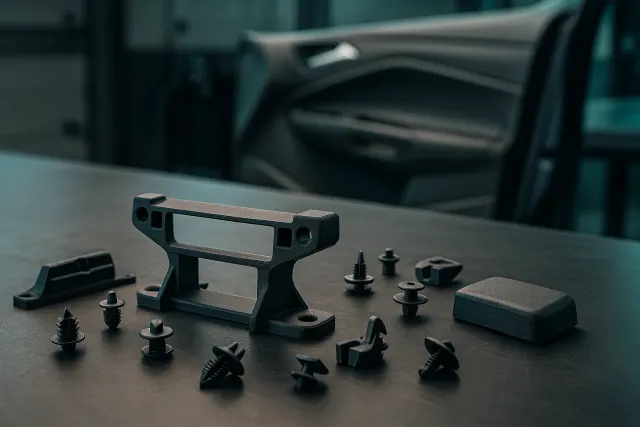
Motorhomes, converted vans, camper vans and caravans share one thing in common: an interior fit-out made up of dozens of small plastic parts, often specific to one manufacturer and one model generation. When one of them breaks, several obstacles appear:
- Discontinued references: many parts for older models are no longer sold, even if the vehicle still runs perfectly.
- Part sold as a set: sometimes you have to buy a whole cupboard door or an entire blind just to replace a simple clip.
- Lead times at the worst moment: the breakdown often happens right before setting off on holiday.
- Custom fit-out: in a van, every mount, shim or storage piece has to follow a wall that is never quite straight.
The general approach is described in our guide to 3D printed spare parts. Here, we apply it to the constraints specific to leisure vehicles: heat, vibration and outdoor exposure.
The motorhome parts most often reproduced
| Part | Recommended material | Reproduction method |
|---|---|---|
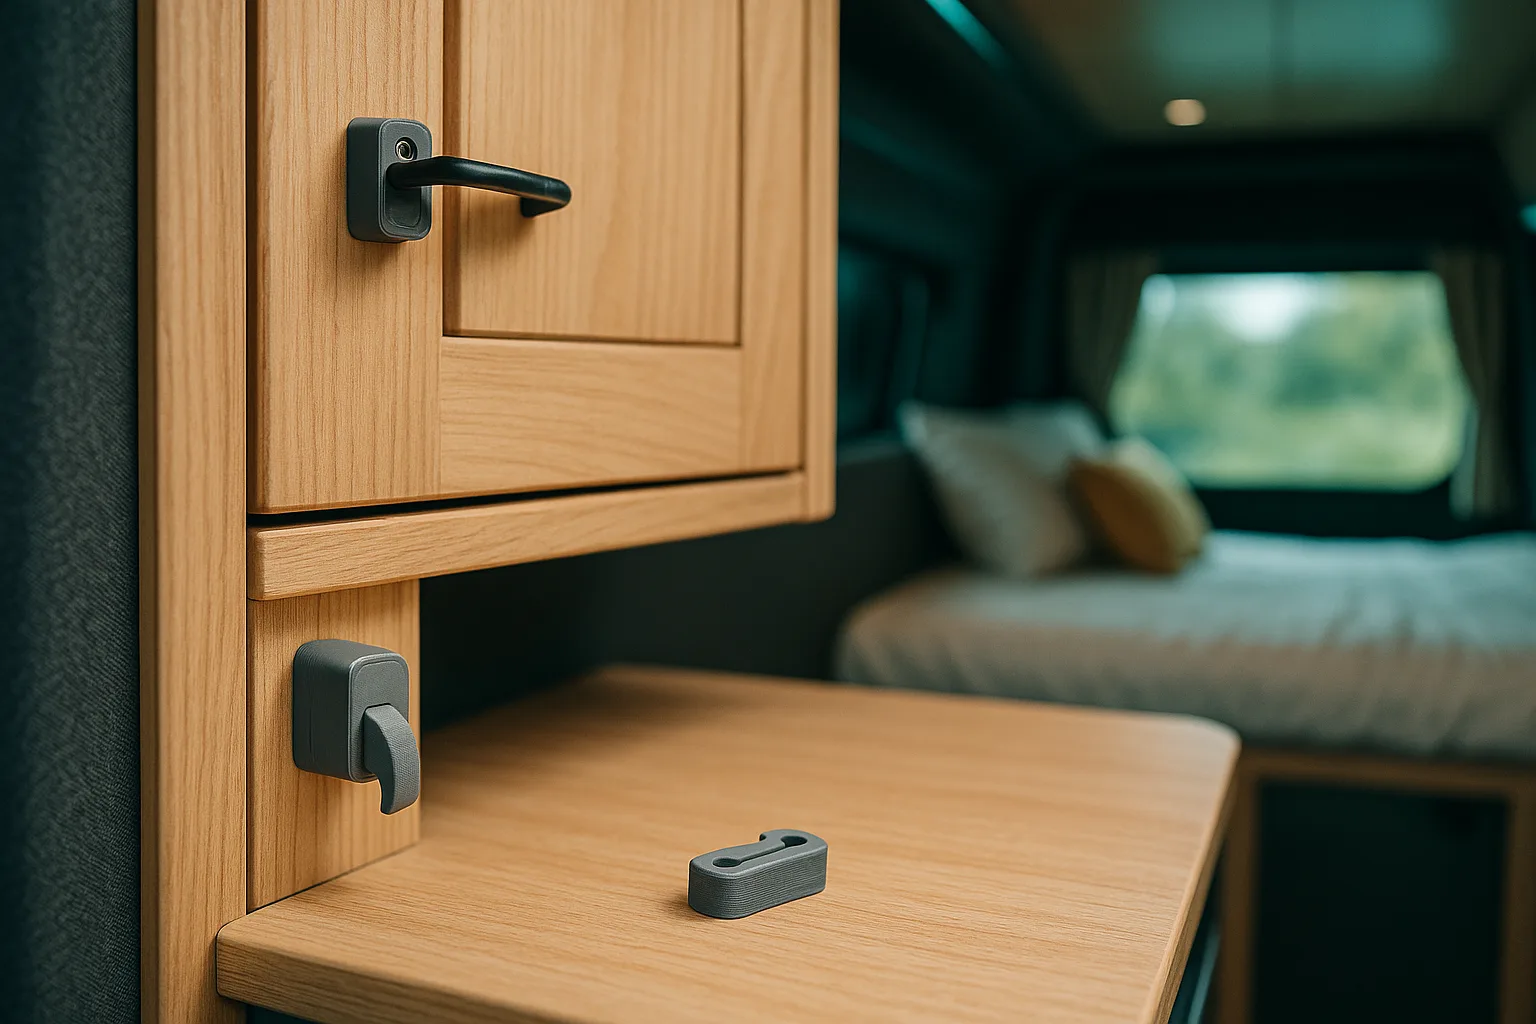
| Cupboard latch, lock or knob | PETG or nylon | Photos or measurements |
| Plastic hinge for a storage door | Nylon or PETG | 3D scan or measurements |
| Door stop, stopper | PETG, TPU end cap | Measurements |
| Blind or flyscreen clip | Nylon or PETG | 3D scan or photos |
| Plug, cover, tube end cap | PETG or ASA | Photos or measurements |
| Outdoor vent grille | ASA | 3D scan |
| Non-structural roof-light part (crank handle, clip, cover) | ASA | 3D scan or photos |
| TV, tablet, cup-holder mount, custom storage | PETG or ASA | Measurements |
| Shim, furniture mount, van fit-out cable gland | PETG, nylon or TPU | Measurements |
In a van or converted camper, 3D printing is used as much to create as to replace. The walls are curved, the body uprights are never quite square, and every centimetre counts. A furniture shim that compensates for the curve of a side panel, a socket or switch mount fitted to the trim, a cable gland that protects a wiring harness where it passes through sheet metal: these parts exist in no catalogue. A parametric model lets you adapt them to the millimetre, then mirror them for the other side of the vehicle by simple symmetry.
Method A: scan the part
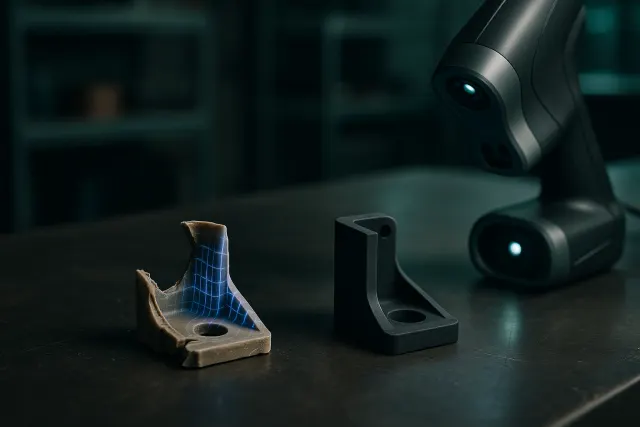
For a hinge with a convoluted geometry, a curved vent grille, or a blind clip with interlocking shapes, a 3D scan is the most reliable method. The workshop uses an industrial Creaform MetraScan scanner, accurate to around 0.1 mm, which captures the part's actual surface.
A part broken into several pieces can also be scanned: the fragments are digitally reassembled, and a missing part is completed by symmetry where the shape allows it. The model is then corrected: wear on a latch that has rubbed thousands of times, warping of plastic left in the sun, pin dimensions restored to nominal. You can request a 3D scan of your part.
If a latch or hinge exists in several copies in the vehicle, remove an intact one rather than sending only the broken one. Scanning a complete part avoids any risky reconstruction, and you can order several spares at once.
Method B: remake the part from measurements
A tablet mount, a furniture shim, an end cap or a door stop can easily be redesigned from a few measurements with calipers. Measure:
- the hole spacing of the fixing screws, centre to centre;
- the diameters of holes, hinge pins and tubes to be plugged;
- the thicknesses of the furniture panel or the wall the part attaches to;
- the travel of a latch or lock and the position of the strike plate.
Then describe the part to the AI 3D Studio. Timelapse's AI produces a parametric model where each dimension is set with a slider; you can also request a change in plain language, for example thickening a tab or adding a hole. Our guide to writing the brief for a 3D part helps you phrase the dimensions, and the one on tolerances and fits gives the clearances to plan for a hinge or a joint.
Method C: remake the part with AI from photos
For a plug, a cupboard knob or a simple cover, the AI 3D Studio accepts 1 to 6 photos. Photograph the part from the front, side and top, against a plain background, with a ruler or an object of known size beside it. The AI reconstructs the shape, and you then adjust the measured dimensions with the sliders. For a complex free-form shape, such as a multi-jointed hinge, scanning remains preferable. A useful tip on the road: take the photos as soon as something breaks, before throwing away the pieces, and jot down the two or three essential dimensions while you're at it. How it works is explained in the guide to AI 3D modelling.
Materials: heat, vibration and UV
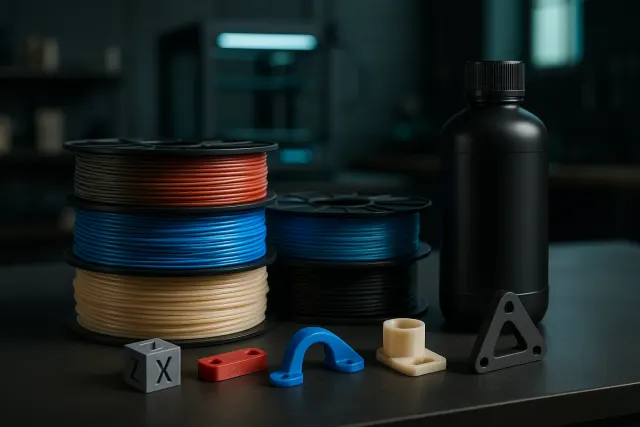
A vehicle parked in direct sunlight in summer reaches high interior temperatures, even more so near the windscreen or under a roof light. PLA, which softens at moderate temperatures, is therefore not recommended, even for an interior part. The usual choices:
- PETG: the versatile material for interior fit-out, more heat-tolerant than PLA and not very brittle.
- ASA: for anything exposed outdoors or behind glass, thanks to its good UV and heat resistance.
- Nylon: for hinges, latches and clips that work hard, resistant to fatigue and impact; its moisture absorption needs to be factored into clearances.
- TPU: for stops, end caps, anti-vibration shims and soft protective pieces.
Road vibration loosens assemblies and fatigues thin tabs: plan for threaded inserts rather than screws directly into the plastic, generous fillets, and a print orientation that loads the layers in the right direction. The properties of each material are detailed in the guide to 3D printing materials and on the materials page.
Limits and safety
3D printing covers fit-out and comfort, never the vehicle's safety components. Do not have printed:
- braking and steering parts;
- towing hitch and trailer parts;
- any part of the gas system;
- structural parts of the vehicle or the living cell;
- seat and seatbelt mountings.
Also be careful with anything that could become a projectile in the event of hard braking: a TV mount or high storage must be solidly fixed to the furniture structure, with its printed part generously sized. For a roof light, limit yourself to comfort parts such as a crank handle, a clip or a cover; the frame and the seal remain the job of original parts. Finally, avoid placing a plastic part near a heat source, such as a heater, an exhaust duct or a stove.
For a van fit-out, have a first part printed and test it on a real trip before ordering the run. Vibration quickly reveals a clip that's too tight or a tab that's too thin. Approval of the vehicle and its conversions remains the owner's responsibility.
How to send a request
- Simple part: describe it or photograph it in the AI 3D Studio. The 50 free credits let you generate and adjust the model, then order the print with an instant price.
- Complex or broken part: request a 3D scan, specifying the vehicle's make, model and year, the part's location and its exposure.
- Quantity: let us know if you'd like spare copies in advance, which avoids going through the same breakdown while travelling.
The workshop, located in the Var region of France, has more than 20 machines and delivers across France. To understand what makes a part's cost vary, see our guide to the price of 3D printing. The same methods apply to automotive parts, classic car parts and boat parts.
Frequently asked questions
Can you 3D print a motorhome part that's no longer made?
Yes, for non-structural fit-out parts: latches, plastic hinges, blind clips, covers, grilles or mounts. The part is reproduced via 3D scan, measurement with calipers, or from photos, then printed in a suitable material.
Is PLA suitable for a motorhome part?
It's not recommended: the temperature inside a closed cabin in direct sunlight can be enough to warp it. PETG is the common choice indoors, ASA for outdoors and UV-exposed areas, and nylon for parts that work hard.
Does a printed part withstand road vibration?
Yes, if it's designed for it: a tough material like PETG or nylon, generous fillets, threaded inserts rather than screws directly into the plastic, and a good print orientation. A test on a real trip before a production run remains recommended.
Which motorhome parts should you not 3D print?
Braking, steering, the towing hitch, the gas system, structural parts and seat or seatbelt mountings. Approval of the vehicle and its conversions remains the owner's responsibility.