What industrial 3D printing covers
We talk about industrial 3D printing when additive manufacturing is used in a professional setting, with requirements for repeatability, lead time and mechanical properties. It isn't a question of machine size: it's a question of method. An industrial part is defined by a specification (function, loads, environment, critical dimensions), manufactured with controlled parameters and checked before delivery.
In practice, three uses dominate:
- Rapid prototyping: appearance mock-ups, functional prototypes, validation of footprint and assembly.
- Small batches: from a few units to a few hundred parts, when a mould would not be cost-effective or is not yet justified.
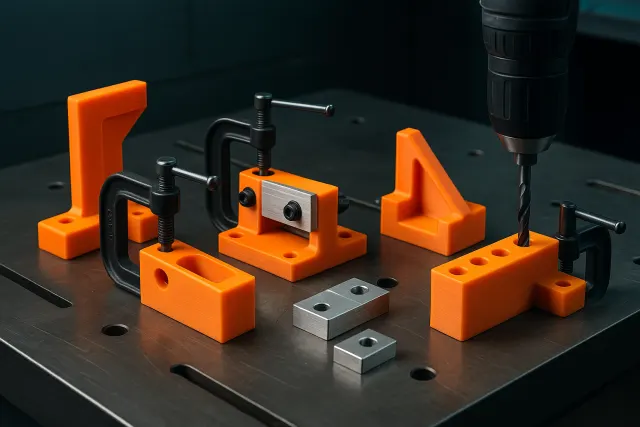
- Tooling and maintenance: jigs, fixtures and workshop tooling, or spare parts reproduced via 3D scanning.
What these uses have in common: the absence of dedicated tooling. The start-up cost is close to zero, which allows iteration and makes one-off manufacturing economically viable.
Rapid prototyping: the three levels of prototype
Not every prototype answers the same question. Distinguishing between them avoids paying for precision or material that isn't needed at a given stage.
The form prototype
It is used to judge a volume, an ergonomics, a proportion. You show it, hold it, and place it in its environment. An FDM print in PLA with a standard layer height is usually enough. The goal is to move fast and be able to produce a new version the next day.
The functional prototype
It must assemble, clip into place, withstand a load or a temperature. The material becomes decisive: PETG for good general-purpose resistance, ASA for outdoor use and moderate heat, nylon or carbon-fibre-filled nylon for stiffness and mechanical strength, TPU for flexible parts. Functional dimensions must account for the clearances specific to the process, detailed in our guide on tolerances and clearances in 3D printing.
The final appearance sample
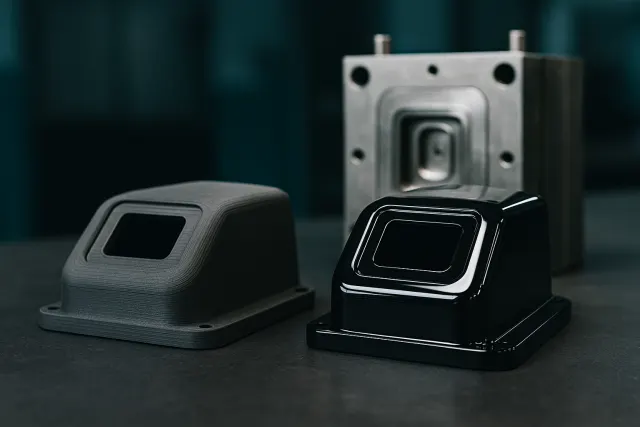
It comes close to the finished product's look: smooth surfaces, fine details, colours. SLA resin offers excellent surface definition; multicolour printing lets you present a part in the product's colours without paint. A pass through finishing and post-processing (sanding, priming, painting) completes the result.
Define the question each prototype must answer before launching it: "does the cover clear the connector?", "does the clip hold after fifty cycles?". This question dictates the technology, the material and the area to focus on, and keeps you from over-engineering the first iterations.
Choosing the technology and the material
Two families of processes cover most prototyping and small-batch needs. Our guide to 3D printing technologies covers them in detail; here is the essential information for deciding.
| Criterion | FDM (filament deposition) | SLA (photopolymer resin) |
|---|---|---|
| Typical use | Functional parts, enclosures, mounts, tooling | Fine parts, details, smooth surfaces, masters |
| Material choice | Wide: PLA, PETG, ABS/ASA, TPU, nylon, carbon-filled | More limited, properties depend on the resin |
| Surface finish | Visible layers, improvable with finishing | Very smooth, crisp details |
| Large dimensions | Suited to large parts | More limited build volume |
| Mechanical behaviour | Good, but anisotropic (weaker between layers) | More homogeneous, often more brittle on impact depending on the resin |
The choice of material follows from the part's environment: temperature, UV exposure, contact with oils or solvents, repeated loads, need for flexibility. The guide to 3D printing materials compares their properties and limits. When in doubt between two materials, printing the same part in both and testing it under real conditions is often cheaper than a long debate.
Small batches: when 3D printing remains relevant
3D printing is worthwhile for a production run as long as the cost of a mould isn't offset by the quantity. It is especially well suited to the following cases:
- Low or uncertain volumes: pre-production runs, test market launches, niche products, replacement parts for an ageing fleet of equipment.
- Customisation: each part can differ (marking, dimension, customer-specific adaptation) with no extra tooling cost.
- Geometries impossible to mould: internal channels, undercuts, consolidated parts that replace an assembly of several elements.
- Bridge production: supplying parts while the mould is being made, or after a version change.
Beyond a certain volume, plastic injection moulding becomes more economical per part. The reasoning for locating that threshold is developed in our comparison 3D printing or plastic injection moulding. To estimate the budget for a printed run, the key factors are detailed in what makes up the price of 3D printing.
In a production run, consistency comes first. The parameters (material, orientation, layer height, infill) are locked in on a validated part, then reproduced identically. A reference part kept at the workshop makes it possible to compare each batch.
Designing for additive manufacturing
A part designed for machining or injection moulding often prints fine, but not always at its best. A few rules noticeably improve the result:
- Think about orientation from the design stage. In FDM, a part is weaker against forces that tend to separate the layers. Orient the main loads within the plane of the layers, and plan for the face resting on the build plate.
- Limit overhangs. Beyond about 45° from vertical, supports are needed, which leave marks and lengthen machine time. A chamfer instead of a fillet under a horizontal surface often avoids a support.
- Size the walls correctly. Walls that are too thin warp; unnecessary solid masses cost time and material. Ribs are better than a uniform thickness.
- Plan for assemblies. Heat-set threaded inserts rather than printed threads for screws that are removed often; suitable clearances for snap fits; clips sized according to the material's flexibility.
- Deliver a clean file. A watertight mesh, at the right scale and with sufficient resolution, avoids back-and-forth. See our guide to preparing an STL or 3MF file.
If you don't have a CAD model, you can start from a description or photos: the AI 3D Studio generates a printable parametric part, whose dimensions you adjust before exporting or ordering. To understand the value of a model with adjustable dimensions, read parametric model or mesh.
For an assembly with a precise fit, first print a small sample a few centimetres across covering only the critical area (bore, groove, clip). It comes out in a fraction of the time of the complete part and lets you dial in the dimension before launching the run.
Organising a project with a printing workshop
A prototyping or small-batch project goes more smoothly when the useful information is provided from the start:
- the 3D file (STEP, STL or 3MF) and, if possible, a drawing with the critical dimensions and their tolerances;
- the part's function and its environment (loads, temperature, outdoor use, chemical contact);
- the quantity, and any prospect of a production run;
- the expected finish level and the visible faces;
- the actual required lead time.
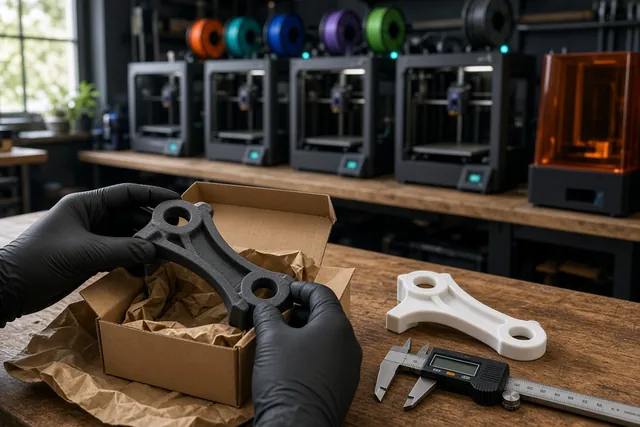
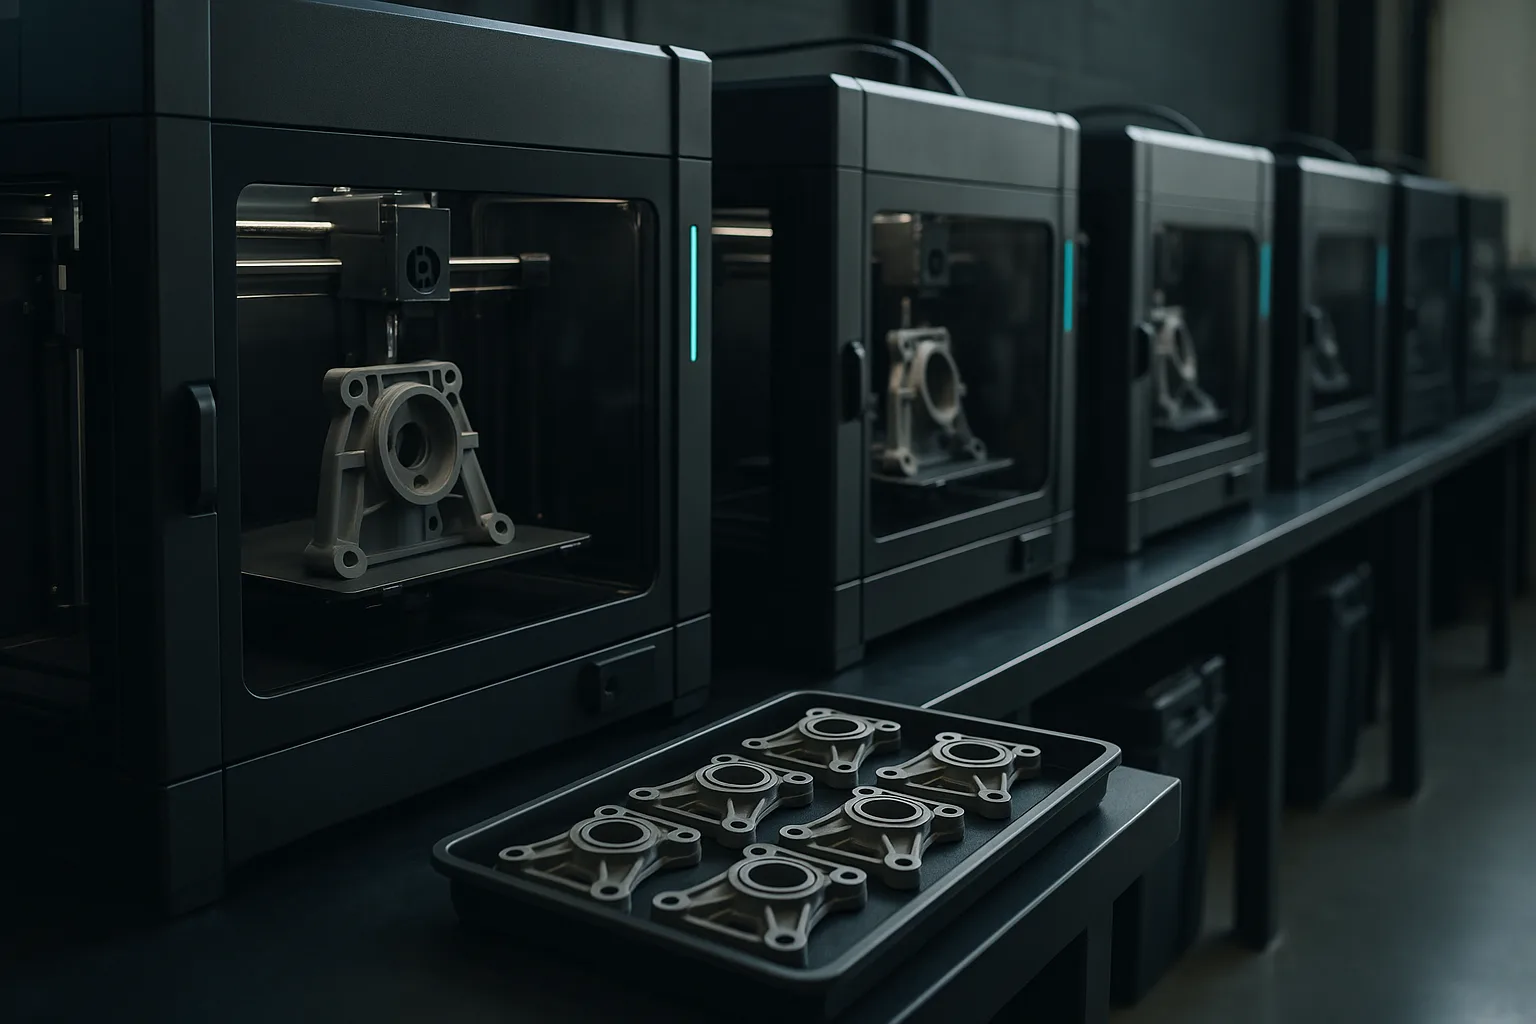
The Timelapse-3D workshop, located in the Var, permanently runs more than twenty multi-material FDM and SLA machines, including a Bambu Lab H2D for large parts up to around 60 cm and multicolour printing up to 8 colours. Production runs 24 hours a day, urgent jobs are prioritised, and parts are delivered throughout France. When an existing part needs to serve as a reference, an industrial 3D scan makes it possible to start from its actual geometry.
Finally, keep a short iteration loop: one version, one test, one fix. This is exactly what additive manufacturing enables, and it's where it saves the most time compared with traditional processes.
Frequently asked questions
What is the difference between consumer 3D printing and industrial 3D printing?
The difference lies mainly in the method: a specification, the choice of technical materials, locked-in parameters and part inspection. The processes themselves can be similar, but industrial 3D printing aims for functional, repeatable parts delivered within a controlled lead time.
How long does it take to get a 3D-printed prototype?
A small part can be printed in a few hours, a large part in one or several days of machine time. Add file preparation, any post-processing and shipping. In a workshop that runs continuously, a prototype can often be shipped within a few days.
Is 3D printing suitable for a small batch of parts?
Yes, as long as the cost of a mould isn't offset by the quantity, or the geometry and customisation call for it. It suits pre-production runs, niche products and replacement parts well. Beyond a certain volume, injection moulding becomes more economical per part.
Which material should be chosen for a functional prototype?
PETG is a good all-purpose choice, ASA suits outdoor use and moderate heat, nylon and carbon-filled nylon suit heavily loaded mechanical parts, and TPU suits flexible parts. The right choice depends on the part's actual environment: temperature, UV, chemicals and loads.