Why 3D print your workshop tooling
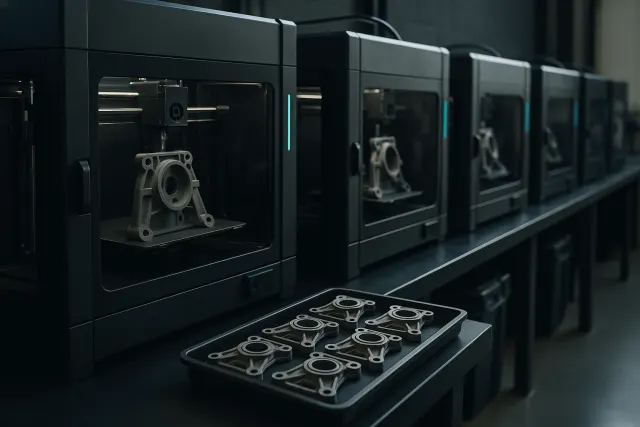
Production tooling (jigs, fixtures, gauges, mounts) is often made in small quantities, on demand, and modified as the product evolves. This is exactly the ground where additive manufacturing excels:
- Short lead time: no machining program or complex set-up, the part comes straight out of the file.
- Low cost: a polymer fixture uses little material and machine time, even with a complex shape.
- Free-form shape: a jig can match exactly the part it receives, incorporating clearances, handles, raised markings.
- Iteration: if the operator suggests an improvement, the model is modified and reprinted.
- Lightness: a printed fixture often weighs much less than its metal equivalent, which matters for handling and ergonomics.
3D printing doesn't replace metal tooling subject to heavy loads, abrasion or heat. But a large share of workshop fixtures are only subject to moderate loads: they position, guide, check or store.
The most common applications
Drilling jigs
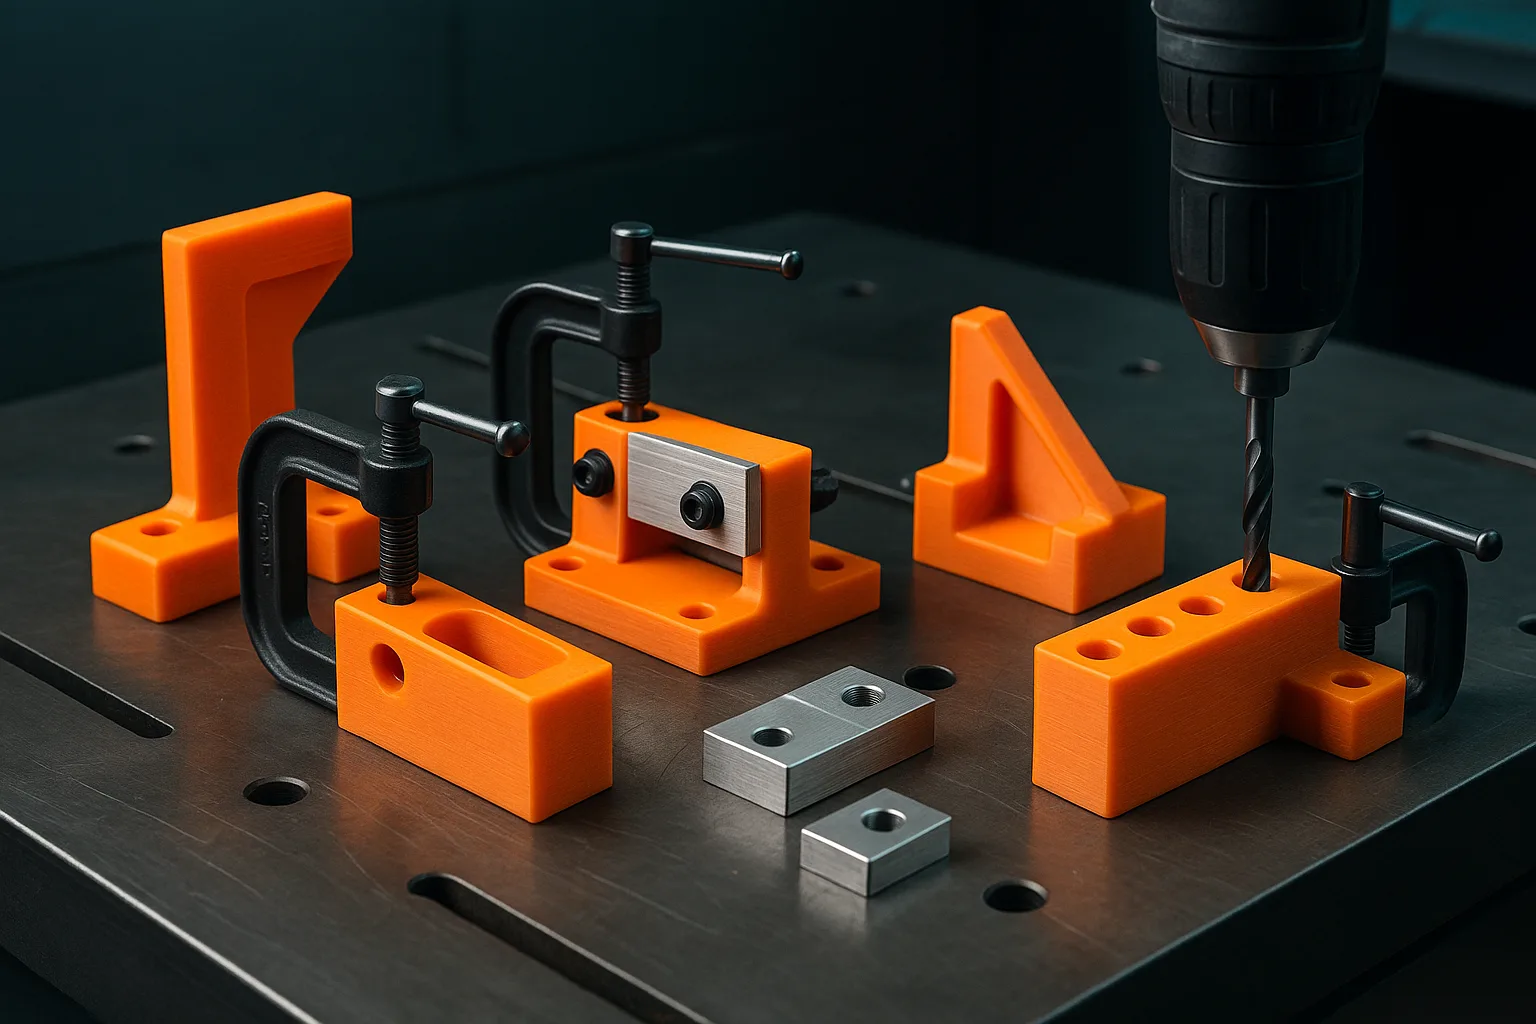
The jig sits on the part, indexes off its edges or existing holes, and guides the drill bit to the correct positions. For a series of repetitive holes, it avoids marking out and dimensional errors. Guiding the drill bit directly in plastic wears out quickly: metal drill bushings are inserted into dedicated recesses, press-fitted or glued in. The plastic then only handles positioning.
Assembly and gluing fixtures
They hold several parts in their relative position during screwing, gluing, welding or crimping. A printed fixture can reproduce the exact shape of the parts as a recess, with clearances for tools and glue squeeze-out.
Go / no-go gauges
A go/no-go gauge lets an operator quickly check a dimension without a measuring instrument. In 3D printing, it suits checking dimensions with a comfortable tolerance (on the order of a few tenths of a millimetre). For tight tolerances, the process's inaccuracy and the plastic's wear make it unsuitable: a metal gauge or a measuring instrument is kept instead.
Soft jaws for a vice
Jaws made of TPU or PETG, attached with magnets or screws onto the vice jaws, protect fragile or already-finished parts. Profiled jaws matching a round, conical or irregular shape make it possible to clamp parts that couldn't otherwise be held.
Cable, tool holders and storage
Custom tool holders for a wall panel or tool trolley, cable guides and clips, sensor mounts, kitting trays shaped to the components: these simple parts improve the workstation's organisation. Many can start from a generic model: the parametric model library offers brackets, spacers, cable clips and mounts whose dimensions you adjust.
Poka-yoke fixtures (error-proofing)
A poka-yoke fixture makes an incorrect assembly physically impossible: a peg that only fits one way, a nest that only accepts the part in the correct orientation, a plate that covers the unneeded holes of a variant. 3D printing makes it possible to quickly create one for each reference and identify them with a colour or a raised marking.
Engrave on each jig, raised or recessed, the reference of the relevant part and a version number. When the product evolves, you know immediately which tooling is up to date, and multicolour printing even lets you tell variants apart at a glance.
Choosing the tooling material
PLA is tempting for its ease of printing, but it warps at moderate temperature (a car or a workshop in summer can be enough) and it is brittle. For tooling that needs to last, the following materials are preferable:
| Material | Advantages for tooling | Typical uses |
|---|---|---|
| PETG | Good toughness, better impact resistance than PLA, little sensitivity to ambient humidity | Common jigs, mounts, storage, poka-yoke fixtures |
| ASA | Better heat and UV resistance than PETG | Fixtures near moderate heat sources, outdoor workstations |
| Carbon-fibre-filled nylon | High stiffness, good dimensional stability, wear resistance | Precision fixtures, heavily used jigs, gripping parts |
| TPU | Flexible, cushioning, doesn't damage surfaces | Soft jaws, protective covers, stops, non-slip pads |
For more detail, our guide to 3D printing materials compares these materials more thoroughly.
Design rules for a good jig
- Index on reliable references. The jig must position itself on reference surfaces or holes of the part, ideally following the three-two-one locating principle, for a unique, non-overconstrained positioning.
- Plan for clearances. A part that must fit into a nest needs a clearance suited to the process. The usual values are detailed in the guide to tolerances and clearances.
- Relieve the corners. A nest with sharp corners catches on the part's edges: add relief at the corners.
- Orient for strength. Clamping and leverage loads must work within the plane of the layers. A tab that breaks between two layers is almost always an orientation problem.
- Reinforce loaded areas. More walls and denser infill around fasteners, ribs rather than a solid mass.
- Add ergonomics. Handles, finger grips, entry chamfers to guide the part: these are details that cost nothing in 3D printing.
Combining plastic and metal components
A printed tool benefits greatly from incorporating a few standard components at wear or fastening points:
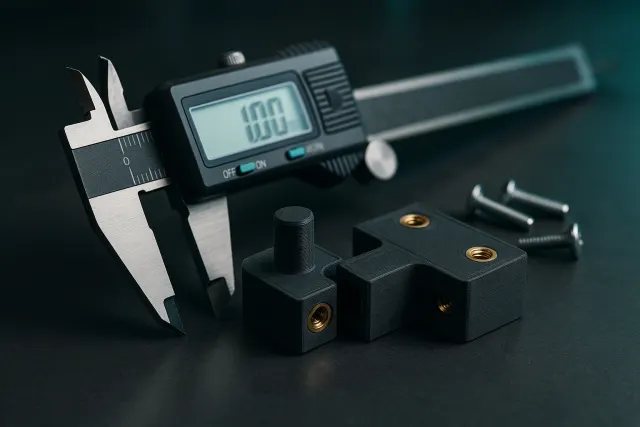
- Heat-set threaded inserts: brass, pressed in with a soldering iron into a dimensioned recess. They allow repeated screwing without tearing out the plastic.
- Drill bushings: they guide the drill bit and absorb wear.
- Metal dowel pins, press-fitted: for precise, durable indexing.
- Magnets set into cavities: quick fastening of soft jaws or mounts onto a metal frame.
- Captive nuts inserted into hexagonal recesses, possibly during a print pause.
These recesses are sized from the component's dimensions and its manufacturer's recommendations, then validated on a test piece before the complete part.
Before printing a large fixture, print a sample a few centimetres across containing only an insert recess, a bushing bore and a piece of the nest. You dial in the clearances in an hour instead of discovering a problem on the whole part.
From idea to tool on the workbench
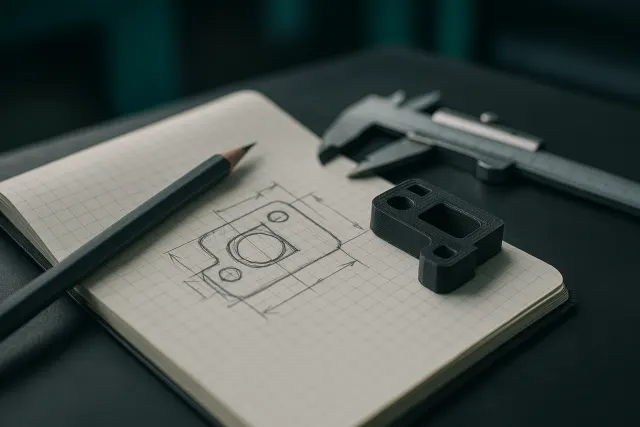
To design a jig, you need the 3D model of the part it receives. If you have the CAD file, start from it directly and build the jig around it. Otherwise, a 3D scan of the part provides the reference surface. When the tool is simple (shim, mount, spacer, guide), you can describe it with its dimensions to the AI 3D Studio, which generates an adjustable parametric model; our guide to writing the brief for a 3D part helps formulate the request.
Then export a clean file (see preparing an STL or 3MF file) and have it printed in the suitable material. The Timelapse-3D workshop, in the Var, prints tooling in PETG, ASA, carbon-filled nylon or TPU, including large fixtures up to around 60 cm, and delivers throughout France. Printed tooling is often part of a broader prototyping and small-batch approach: the jig validated at the same time as the part it is used to produce.
Frequently asked questions
Is a 3D-printed drilling jig accurate enough?
Yes, for most workshop drilling, provided metal drill bushings that guide the bit are inserted. The plastic handles positioning, the bushing handles guiding and absorbs wear. For very tight position tolerances, a machined jig remains preferable.
Which material should be chosen for 3D-printed tooling?
PETG suits most jigs and mounts, ASA when temperature or UV increase, carbon-fibre-filled nylon for stiffness and stability. TPU is reserved for soft jaws and protective covers. Avoid PLA for lasting tooling, as it warps under heat.
How do you fasten screws securely into a 3D-printed part?
The most reliable method is to use heat-set brass threaded inserts in a dimensioned recess. They withstand repeated assembly and disassembly. For occasional screwing, captive nuts in hexagonal recesses are also a good solution.
What is a 3D-printed poka-yoke error-proofing fixture?
It is an element that makes an incorrect assembly physically impossible, for example a nest that only accepts the part in the correct orientation. 3D printing makes it possible to create one per reference, quickly and cheaply, and to tell them apart by colour or marking.