Why 3D print an automotive part
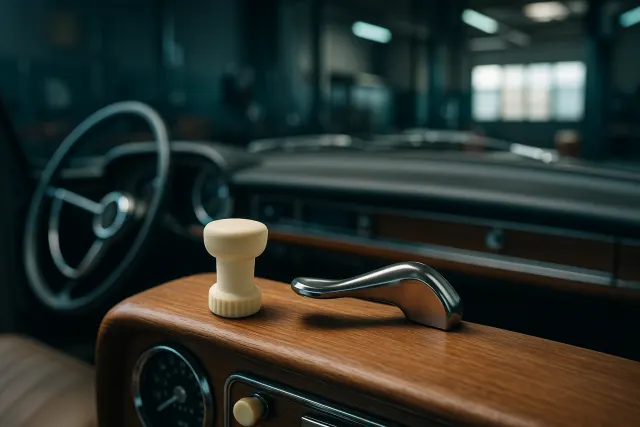
A vehicle contains hundreds of small plastic parts whose disappearance doesn't stop it from running, but which eventually become a problem: a trim panel that rattles, a flap that no longer closes, a missing button on the console. 3D printing becomes worthwhile in several situations:
- Discontinued reference: the manufacturer no longer supplies the part, or only as part of a complete assembly (an entire console for one flap clip).
- Supply lead time: the vehicle sits in the shop for a part worth a few euros that simply hasn't arrived.
- Older or low-volume models: limited runs, imports, converted utility vehicles. For classic vehicles, see our dedicated guide to classic car parts.
- Customisation and prep work: a gauge mount, a sensor plate, an electronics enclosure, an accessory that simply doesn't exist in shops.
- Garage tooling: drilling jigs, positioning shims, assembly guards, made once and reprinted whenever needed.
The general reverse-engineering approach is covered in our guide to 3D-printed spare parts; this article focuses on what's specific to automotive work.
The automotive parts printed most often
Here are the cases we see most often at the workshop, with the material and measuring method usually chosen:
| Part | Recommended material | Reproduction method |
|---|---|---|
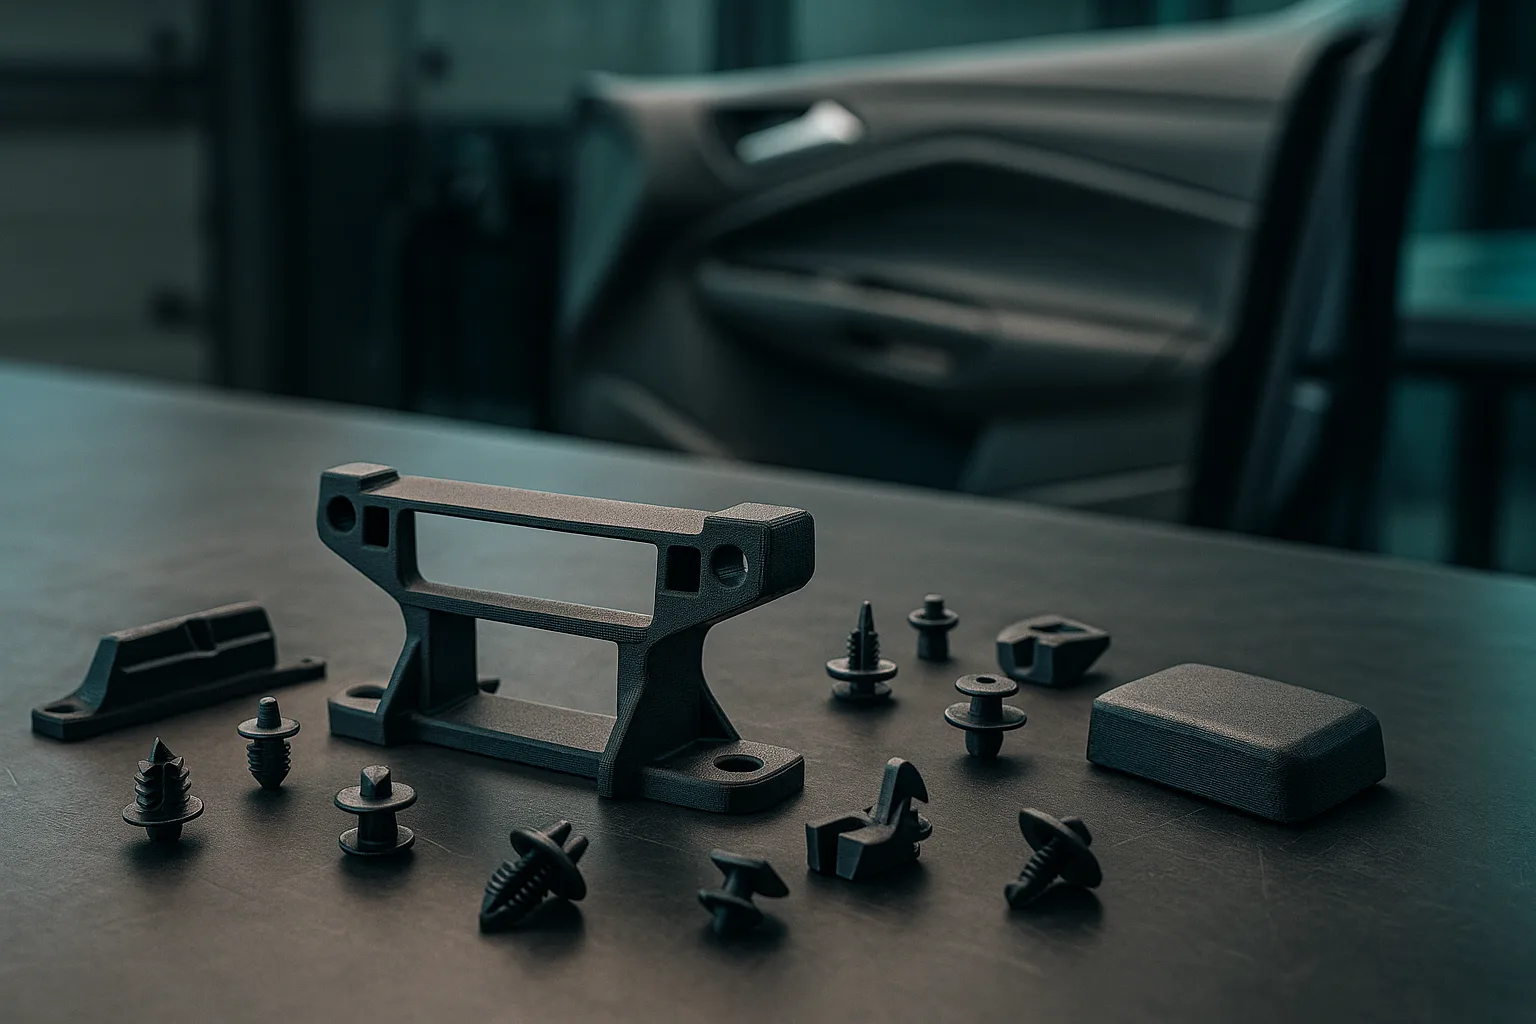
| Trim clips and fasteners | Nylon, PETG | Caliper measurements |
| Phone or aftermarket gauge mount | ASA | Measurements, or a scan of the dashboard |
| Sensor plate or mount | ASA, carbon-fiber nylon | Measurements (mounting hole spacing) |
| Covers, blanks, plugs | ASA | Measurements or photos |
| Buttons and dials | ASA, resin for fine details | Scan or photos |
| Interior air vent grille | ASA | Scan |
| Electronic enclosure, cable guide | ASA, PETG | Measurements |
| Spacers and shims | Nylon, ASA | Measurements |
| Console or trim part | ASA | Scan |
| Garage assembly jig | PETG, carbon-fiber nylon | Scan of the area, or measurements |
| Accessory prototype | PETG, ASA | Description in the AI 3D Studio |
For jigs and garage tooling, the workshop jigs and tooling guide offers useful design rules.
Method A: scan the part
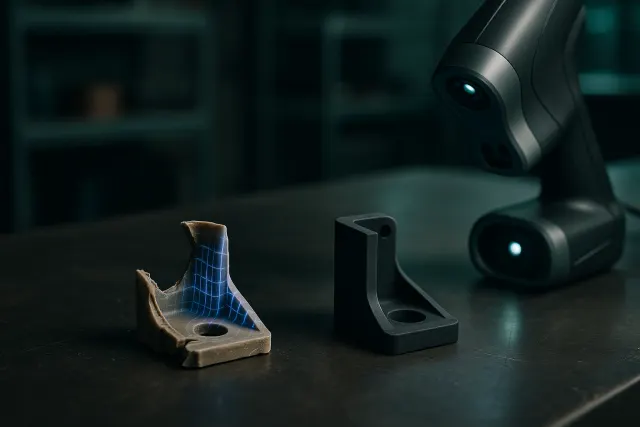
3D scanning is the right method whenever the shape is freeform: a curved grille, a trim piece that follows the dashboard's curve, an ergonomic button, a console part. The workshop uses an industrial Creaform MetraScan 3D scanner, with an accuracy of around 0.1 mm, which captures the part's real surface.
Scanning also helps when the part is broken. The pieces are glued back together before scanning, or the missing portion is reconstructed by symmetry during modelling. Wear is corrected at this stage too: a crushed tab, a rounded peg or an elongated hole are brought back to their nominal dimension. For a mount that needs to match a specific area of the vehicle, that area can be scanned directly so the new part fits it perfectly.
To request a scan, use the 3D scan page.
Method B: remake the part from measurements
For a geometric part (spacer, round cover, drilled plate, enclosure, clip), a few caliper measurements are enough. Measure first:
- the mounting hole spacing, measured centre to centre;
- the diameters of holes, pins and pegs;
- the wall and tab thicknesses;
- the thickness of the panel into which a clip or a plug fits;
- the maximum available overall dimensions.
Then describe the part in the AI 3D Studio with these measurements. It produces a parametric model whose dimensions are adjusted with sliders: if the clip is a little too tight on the first try, you adjust the relevant dimension without redrawing everything. Our guide on writing the brief for a 3D part shows how to phrase a clear request, and the one on tolerances and fits gives the clearances to plan for a snug fit.
Method C: remake the part with AI from photos
When a part is simple but tedious to describe, Timelapse's AI can reconstruct its shape from 1 to 6 photos. For a good result:
- photograph the part from the front, in profile and from above, against a neutral background;
- place a ruler or an object of known size next to the part;
- avoid reflections and harsh shadows.
The AI proposes a shape, then you adjust the functional dimensions (mounting diameter, thickness) with sliders, or through natural-language tweaks. This method works well for simple covers, plugs, dials or mounts. For a complex part with freeform surfaces, such as a curved vent grille, scanning remains more reliable. How it works is explained in our guide to AI 3D modelling.
For a trim clip, always measure the thickness of the sheet metal or panel that receives it, not just the clip itself. A worn clip has lost its original shape; it's the receiving hole that gives the correct dimension.
Materials suited to automotive use
Inside the cabin
A cabin parked in the sun in summer gets very hot, especially on the dashboard and rear parcel shelf. PLA should be avoided there: it softens and deforms. PETG holds up better but remains borderline behind a windscreen. ASA is the default choice for the cabin: good heat and UV resistance, with a matte look close to original plastics. For flexible parts (bump stops, anti-vibration pads), TPU is suitable.
In the engine bay
A part under the bonnet should only be considered well away from heat sources: the manifold, turbo, exhaust, radiator. Technical materials such as ASA or carbon-fiber-filled nylon are then chosen, and the actual temperature at the intended location should be checked. Splashes of oil, coolant or fuel attack certain materials: mention this in your request.
Vibration and UV
Vibration puts mounting tabs and clip zones under stress. This is compensated for with generous fillets, increased thicknesses, a suitable print orientation and, for screws, threaded inserts. Outdoors, ASA resists UV where PLA and PETG degrade. Full material properties are in our guide to 3D printing materials and on the workshop's materials page.
Limits and safety
3D printing should never replace a part whose failure could cause an accident. Do not print:
- braking, steering, suspension and chassis parts;
- restraint components: seatbelts, seat mounts, anchor points;
- fuel and brake circuit parts;
- structural parts and anything contributing to the body's structural integrity;
- approved lighting and signalling devices (headlamps, reflectors, lights);
- helmets and protective equipment.
A printed part does not have the certified characteristics of the original part. The vehicle's compliance, its approval and its roadworthiness inspection remain the owner's responsibility. Stick to cabin parts, accessories and tooling.
For a garage or tuner that often replaces the same part, get a first unit validated in place, then keep the model: it can be reprinted on demand, with no physical stock.
How to send a request
Depending on the part, there are three entry points:
- Complex or broken part: request a scan via the 3D scan page and send the part (or its pieces) to the workshop in the Var. Include the mating part if possible.
- Simple part: open the AI 3D Studio, describe it with your measurements or upload your photos, adjust the model and order the print with a price shown immediately. The 50 free credits are enough for your first tries.
- Small batch for a garage: specify the quantity, the desired material and the environment (cabin, engine, outdoor).
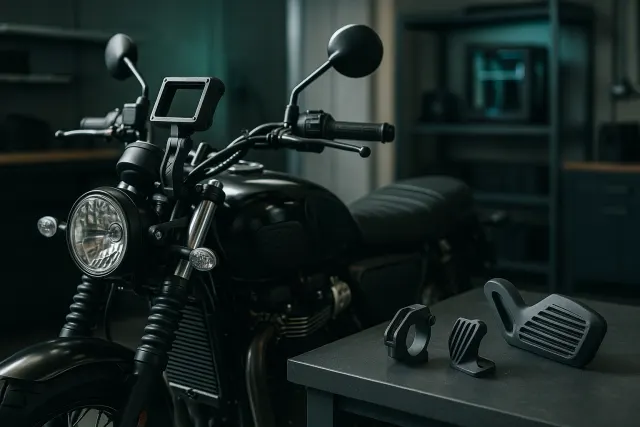
In every case, state the make, model and year of the vehicle, the part's location, in-place photos and the measurements you know to be critical. The workshop has more than 20 machines (multi-material FDM, SLA resin, large format up to about 60 cm) and delivers across France. To estimate a budget, see our guide to 3D printing prices. Two-wheelers have their own guide: motorcycle parts in 3D printing, as do leisure vehicles with motorhome parts.
Frequently asked questions
Can an automotive part be printed in PLA?
This is not recommended for any part installed in the vehicle. A cabin in the sun gets hot enough to deform PLA. For the cabin and exterior, ASA is the usual choice; for mechanically stressed parts, nylon or carbon-fiber-filled nylon.
Can a part be printed for the engine bay?
Only for a non-critical part, placed well away from heat sources such as the exhaust, the turbo or the manifold. A technical material (ASA, filled nylon) is then used, and the actual temperature at the part's location is checked before installing it.
Does a printed part cause problems at a roadworthiness inspection?
A cabin part or a non-regulated accessory is not normally affected. However, approved safety, lighting and signalling parts must not be printed. The vehicle's compliance always remains the owner's responsibility.
Do you need to send the original part to reproduce it?
For a complex shape, yes: 3D scanning the part or its pieces gives the most faithful result. For a simple part, caliper measurements or a few photos with a ruler are enough to remake it in the AI 3D Studio.