Why 3D print boat parts
Whether it's a cruising sailboat, a motorboat or a RIB, most leisure boats live far longer than their builder's parts catalogue. Small plastic fittings and interior parts are often the first to disappear:
- Discontinued references: the boatyard has closed, the model is no longer made, or the original supplier has changed its range.
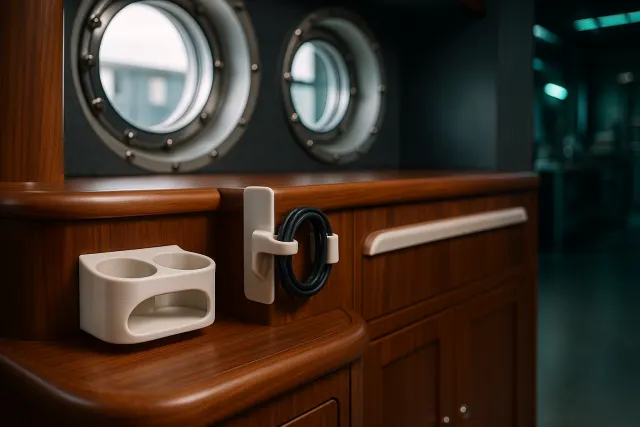
- Part sold as a set: you have to buy a whole porthole just to replace a simple broken inner frame.
- Lead times in peak season: waiting for a part right when you want to go sailing costs you weeks of use.
- Custom needs: a screen mount shaped for the console, a cable gland of the right diameter, a storage piece that follows a curved bulkhead.
The approach is the same as for any 3D printed spare part, with one extra constraint: the marine environment, which is harsh on many common materials.
The boat parts most often printed
Good candidates are comfort, protection or light-fastening parts, whose failure doesn't put the boat or the crew at risk.
| Part | Recommended material | Reproduction method |
|---|---|---|
| Inner frame of a porthole or hatch (non-structural) | ASA | 3D scan |
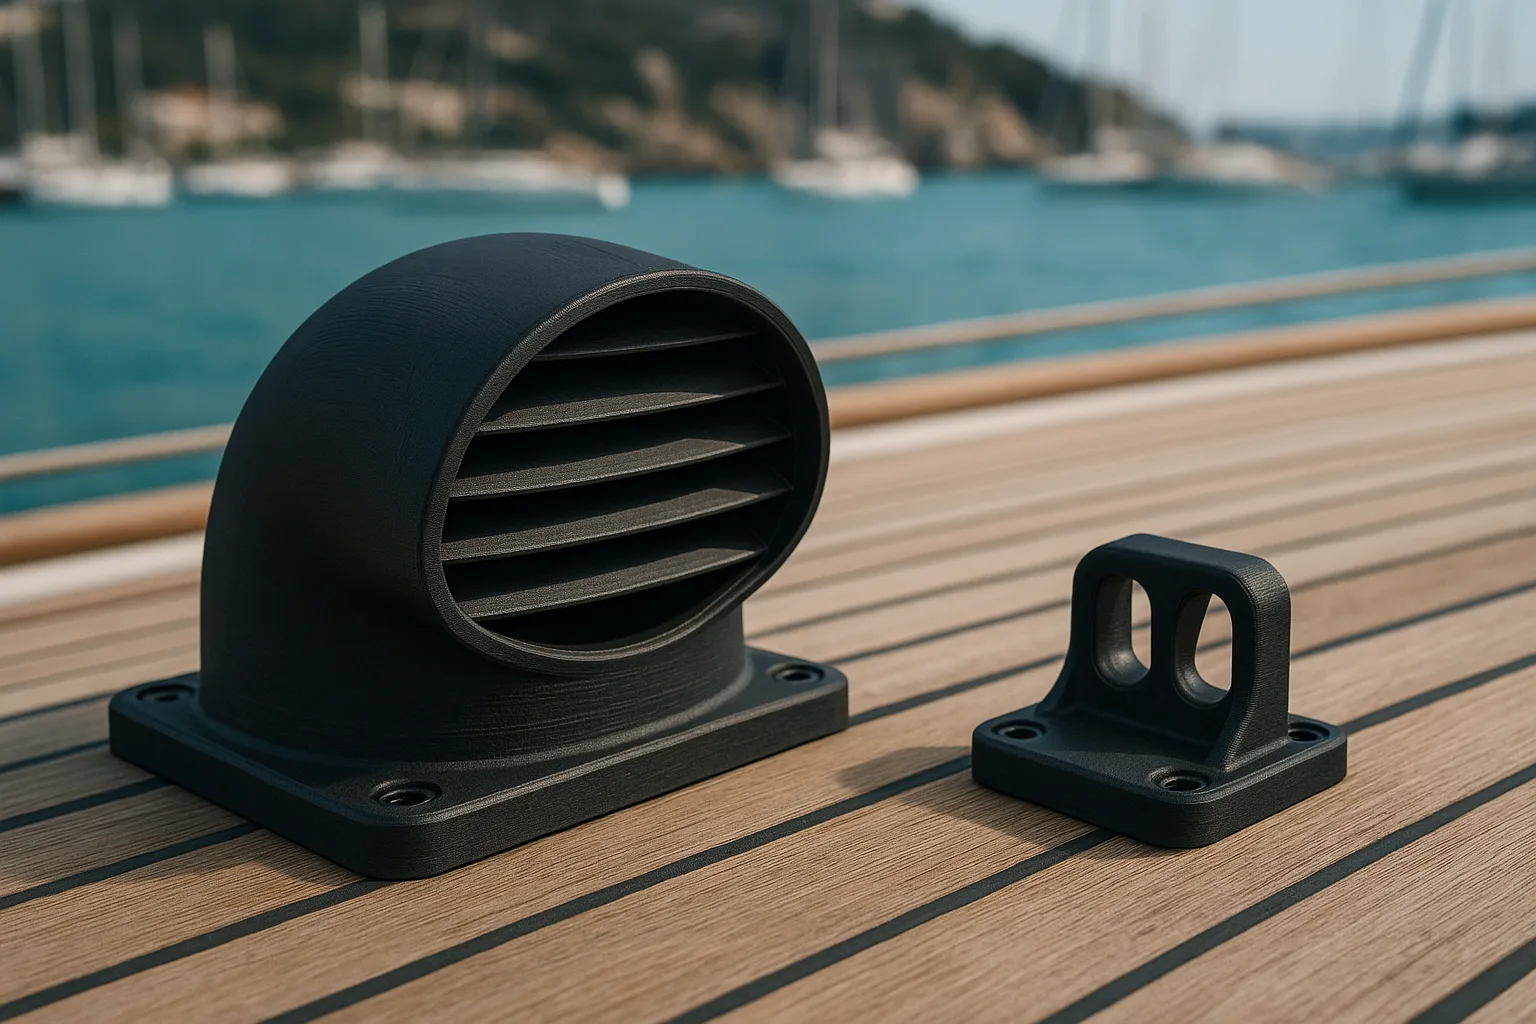
| Vent, grille, air vent cover | ASA | 3D scan or photos |
| GPS, VHF, depth sounder or tablet mount | ASA or PETG | Measurements with calipers |
| Deck cable glands and grommets | ASA, TPU seal | Measurements |
| Light, low-load sheave or pulley | Reinforced nylon, stainless steel pin | Measurements |
| Decorative cleat, light sheet guide | ASA or reinforced nylon | Photos or measurements |
| Knob, handle, plug, cockpit cover | ASA or PETG | Photos or measurements |
| Non-critical outboard cowling or cover | ASA | 3D scan |
| Protection, stop, light sealing gasket | TPU | Measurements |
Reproducing a part is also a chance to fix whatever made it break in the first place. An original vent made of standard plastic that yellowed and then cracked in the sun is better redone in ASA. A VHF mount tab that gave way under the shock of the swell can be given a more generous fillet and a rib. A cable gland can be designed in two parts so it can be fitted without disconnecting the cable. These improvements cost almost nothing in the design and significantly extend the part's lifespan on board.
Method A: scan the part
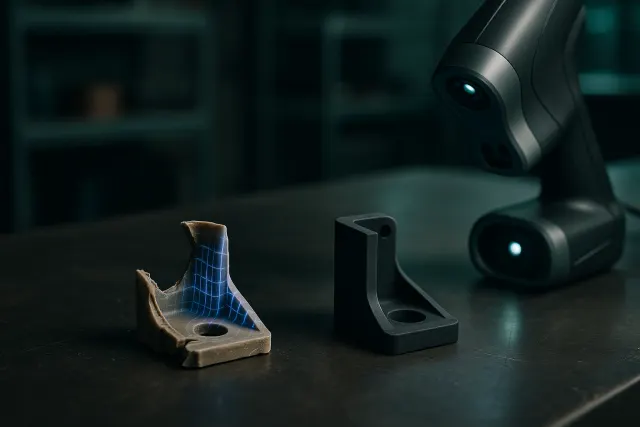
For a free-form or curved shape, such as an outboard cowling, a streamlined vent or a porthole frame that follows the curve of the coachroof, a 3D scan is the safest route. The workshop uses an industrial Creaform MetraScan scanner, accurate to around 0.1 mm, which captures the part's actual surface.
Scanning also works on a broken part: the pieces are gathered, the fragments are digitally reassembled, and any missing part is completed by symmetry where the shape allows it. The model is then corrected, because a scan also reproduces defects: wear from a sheet rubbing against an edge, warping from plastic heated in the sun, or original shrinkage. Functional dimensions are restored to nominal before printing. You can request a 3D scan of your part.
Rinse the part with fresh water and let it dry before sending it in. Crystallised salt and limescale deposits throw off the scan by a few tenths of a millimetre, and it's often the bearing surfaces that are covered in them. Also include the neighbouring part if it can be removed: the fit will be far more reliable.
Method B: remake the part from measurements
Many onboard parts are geometrically simple: a flat mount with two holes, a bushing, a cable gland, a sheave. In that case, a few measurements with calipers are enough. Prioritise measuring:
- the hole spacing of the fixing holes, measured centre to centre;
- the diameters of holes, pins and bores, noting the hardware used;
- the thicknesses of walls and tabs;
- the overall footprint and the space available around the part once fitted.
You then describe the part to the AI 3D Studio, in free text. Timelapse's AI produces a parametric model: each dimension is set with a slider, and tweaks can be requested in plain language. Our guide to writing the brief for a 3D part explains how to phrase these dimensions, and the guide to tolerances and fits gives the clearances to plan for a shaft or a joint.
Method C: remake the part with AI from photos
When the part is simple but tedious to describe, like a knurled knob or a lugged cap, the AI 3D Studio accepts 1 to 6 photos. Take them from the front, side and top, against a plain background, with a ruler or an object of known size in the frame. The AI reconstructs the shape, and you then adjust the measured dimensions with the sliders.
This method suits simple, symmetrical parts well. For a complex free-form shape or a part that must exactly match a hull, scanning remains preferable. How it works is explained in our guide to AI 3D modelling.
Which materials for the marine environment
On board, a part has to withstand UV, humidity, salt spray and significant heat on a deck or dashboard exposed to the sun. PLA is out: it softens at moderate temperatures and ages poorly outdoors.
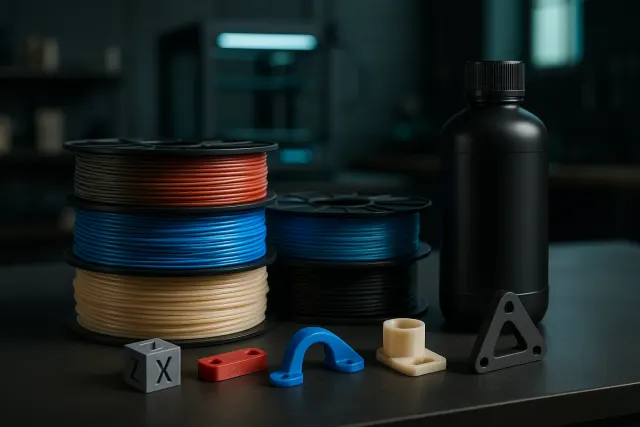
- ASA: the default choice for outdoor use. Good UV and heat resistance, unaffected by seawater.
- PETG: fine in a sheltered area or indoors, more impact-tolerant, but less resistant to prolonged UV exposure than ASA.
- Reinforced nylon: for parts that rub or work, such as a light sheave. Note that nylon absorbs moisture, which changes its stiffness and dimensions; this needs to be factored into clearances.
- TPU: for seals, protective pieces, stops and soft end caps.
Design matters as much as material. Avoid recesses where water can pool and add small drain holes on deck parts. A light colour heats up noticeably less than a black part exposed to the afternoon sun. For a working part, the print orientation should carry the load within the plane of the layers, and infill should be increased around fixings. The differences between FDM and resin processes are explained in the guide to 3D printing technologies.
For fastenings, prefer inserts and stainless steel hardware over printed threads, and avoid contact between dissimilar metals. Full property details are in the guide to 3D printing materials and on the materials page.
Limits and safety: what not to print
A printed part doesn't have the certified characteristics of an original part. Certain parts should never be reproduced by 3D printing:
- any part below the waterline, as well as seacocks and through-hull fittings;
- rigging and load-bearing fittings: turnbuckles, chainplates, heavily loaded blocks, mooring cleats;
- steering parts and helm or engine control components;
- structural parts and those that seal the hull or deck.
Ask yourself a simple question: if this part breaks offshore, what happens? If the answer goes beyond a mere inconvenience, it has no place being 3D printed. Compliance of the boat and its equipment remains the owner's responsibility.
How to send a request
Depending on the part, there are three entry points:
- Simple part: describe it or photograph it in the AI 3D Studio. The 50 free credits let you generate and adjust the model, then order the print with an instant price.
- Complex or broken part: request a 3D scan, specifying the boat, the part's location, its exposure and the desired material.
- Existing file: send your STL or 3MF for direct printing.
The workshop, based in the Var region of France, has more than 20 machines, covering multi-material FDM, SLA resin and large format for parts up to about 60 cm, and delivers across France. For a yacht or a run of parts for a fleet, see the guide to 3D printing for yachting; boaters who also travel by road will find the same approach for motorhome parts.
Frequently asked questions
Can you 3D print a boat part you can no longer find?
Yes, as long as it's a non-structural part: a hatch frame, a vent, an electronics mount, a knob, a cover or a cable gland. The geometry is captured by 3D scan, measurement or photos, then the model is corrected and printed in a material suited to the marine environment.
Which plastic best resists salt and sun?
ASA is the reference choice for outdoor use: it handles UV and heat well and isn't affected by seawater. PETG suits sheltered areas, TPU suits seals and protective pieces. PLA should be avoided on board.
Is a nylon printed part suitable on board?
Reinforced nylon is useful for parts that rub, such as a light sheave, but it absorbs moisture, which changes its stiffness and dimensions. Suitable clearances need to be planned, and it should be reserved for lightly loaded parts.
Which boat parts should you not 3D print?
Parts below the waterline, seacocks and through-hull fittings, load-bearing rigging and fittings, steering components, and structural parts. A printed part doesn't have the certified characteristics of the original, and the boat's compliance remains the owner's responsibility.