When to 3D print a spare part
Reproducing a part through additive manufacturing is worthwhile in several common situations, both in industrial maintenance and for individuals:
- Unavailable part: discontinued reference, manufacturer no longer in business, old equipment that still works perfectly.
- Lead time too long: weeks of waiting for a plastic housing or guide while the machine is down.
- Part sold only as a sub-assembly: you can only buy the whole assembly when just one clip is broken.
- Part to be improved: an element that always breaks in the same place can be reinforced during redesign.
Typical candidates are covers, housings, knobs, dials, clips, guides, spacers, mounts, handles, caps or lightly loaded gears. These are parts whose failure has no consequence for personal safety.
The six-step method
1. Diagnose the part
Before reproducing it, understand why the part failed. A clean break at a sharp corner signals a stress concentration; a yellowed, brittle part suggests UV or heat ageing; regular wear indicates friction. This diagnosis directly guides the redesign and the choice of material. Also note the part's exact function, the loads it bears, the temperature of its environment and the parts it assembles with.
2. Scan or measure
Two approaches exist, often combined:
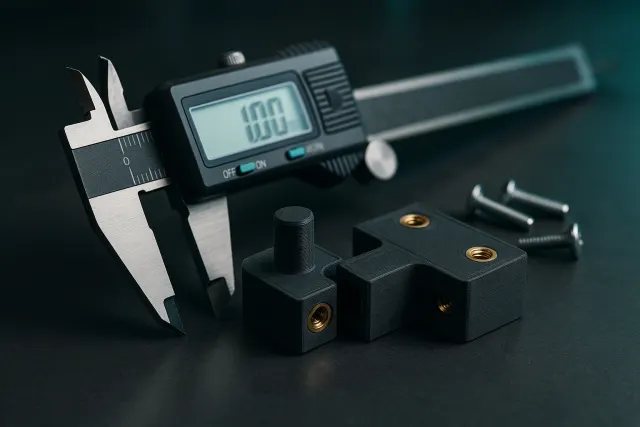
- Manual measurement with calipers is enough for simple shapes: prisms, cylinders, holes, centre distances. It is fast and very accurate for functional dimensions.
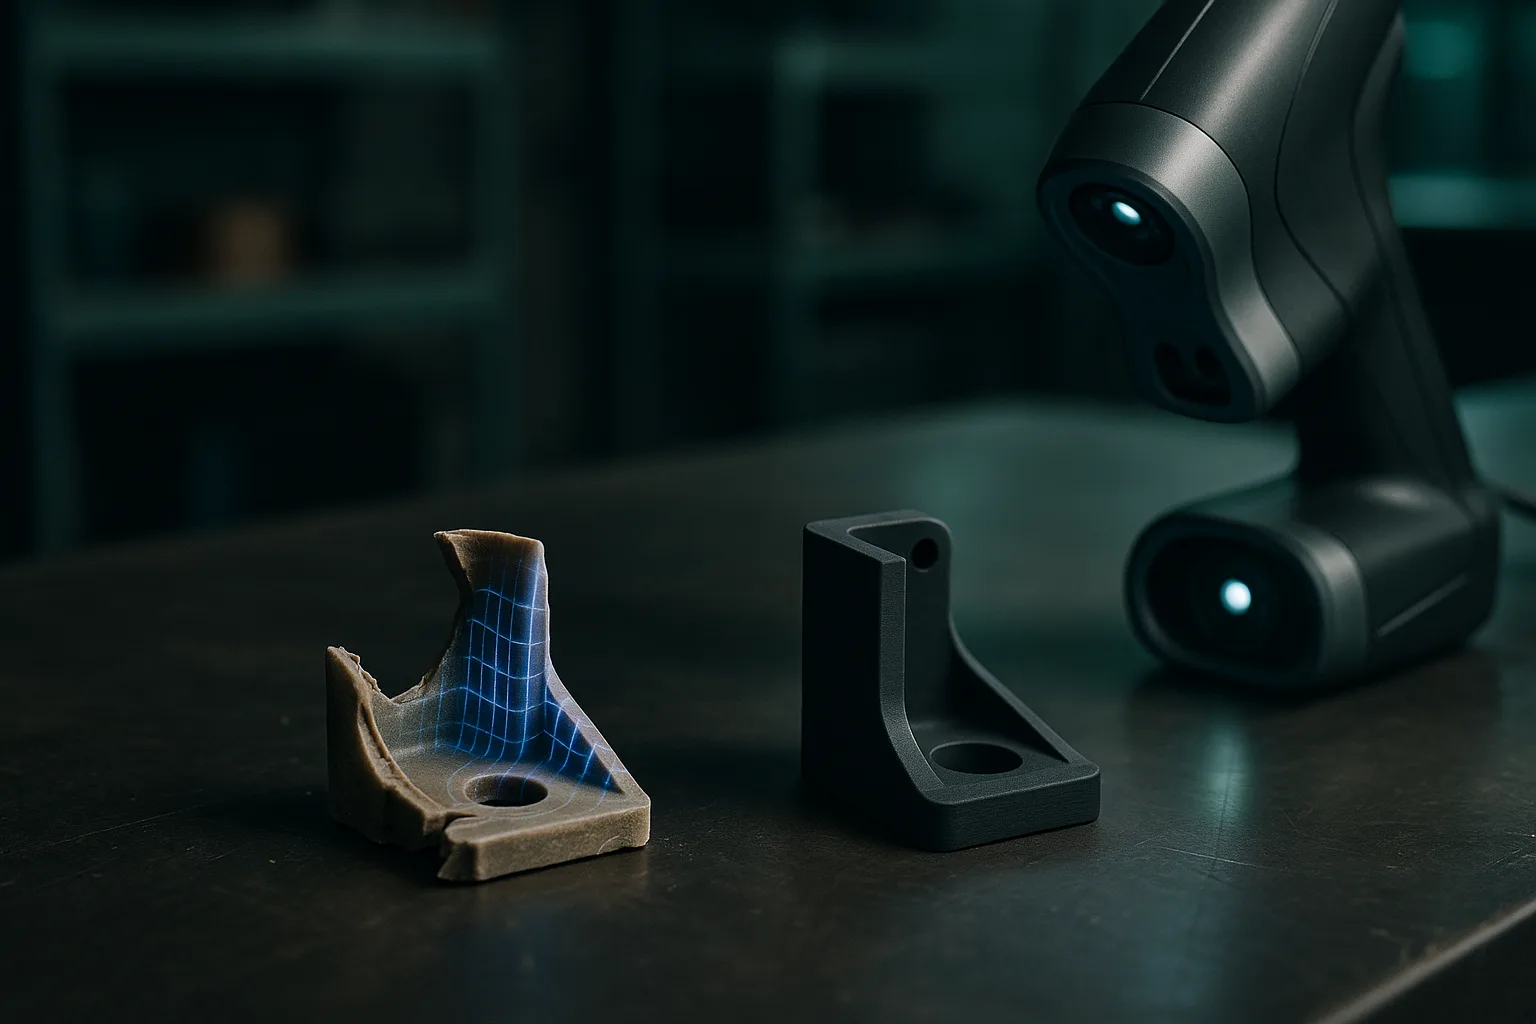
- 3D scanning is essential for free-form shapes, curved surfaces, complex parts, or when the part must match an existing assembly. It provides a point cloud or a mesh of the actual surface.
The scanner's accuracy determines the fidelity of the result. An industrial scanner like the Creaform MetraScan used by the Timelapse-3D workshop reaches an accuracy of around 0.1 mm or better, sufficient for the vast majority of maintenance parts. Shiny, transparent or very dark surfaces require preparation (matting powder, targets), and hidden areas or deep bores are often better measured with calipers.
3. Reconstruct or repair the model
A raw scan is not a print-ready part. It faithfully reproduces the flaws: breakage, wear, warping, moulding shrinkage. The reverse-engineering step consists of:
- reconstructing the functional surfaces into clean geometry (planes, cylinders, holes at nominal dimensions);
- completing missing or broken areas, often by symmetry;
- reinforcing the failure areas (more generous fillets, ribs, thicknesses);
- applying assembly clearances suited to the printing process.
The ideal result is a parametric CAD model, easier to correct than a mesh. The difference is explained in parametric model or mesh. For a simple part, describing the shape and its dimensions to the AI 3D Studio may be enough to get an adjustable parametric model; our guide to writing the brief for a 3D part helps you formulate these dimensions.
4. Choose the material
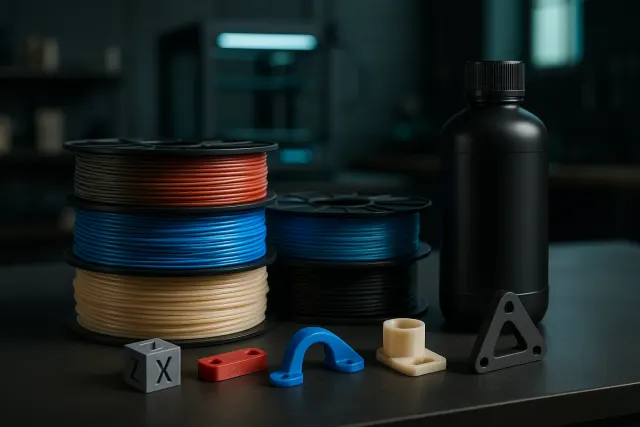
The original material isn't always the right reference: an injection-moulded ABS part doesn't behave like a printed ABS part, because printing introduces anisotropy between layers. Start from the environment:
| Part's constraint | Materials to consider | Point of attention |
|---|---|---|
| Indoor use, light loads | PLA, PETG | PLA softens at moderate temperature, avoid near a heat source |
| Outdoor, UV, moderate heat | ASA | Good UV resistance, slightly trickier to print |
| Mechanical load, impact, friction | Nylon, carbon-fibre-filled nylon | Nylon absorbs moisture, which alters its properties |
| Flexibility, seal, cushioning | TPU | Hardness to be chosen according to use |
| Fine details, small precise parts | SLA resin | Often more brittle on impact and UV-sensitive depending on the resin |
The detailed properties of each material can be found in our guide to 3D printing materials, and the materials available at the workshop are presented on the materials page.
5. Print
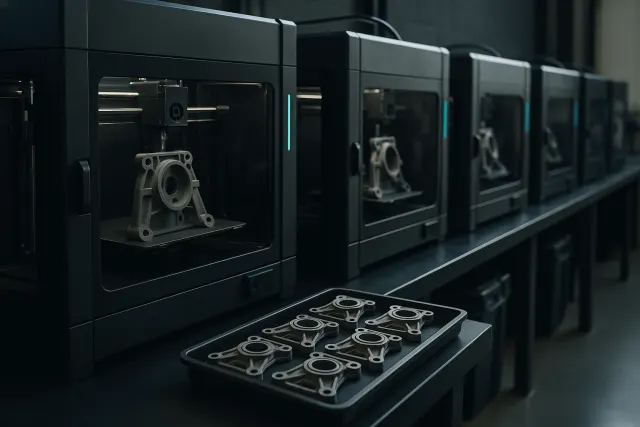
The part's orientation on the build plate matters as much as the material. A clip or a mounting tab must be oriented so that the bending load acts within the plane of the layers, not across it. Infill and wall count are increased in loaded areas. For screws that are removed regularly, heat-set threaded inserts last longer than a printed thread.
6. Test the fit
Assemble the part and check the critical points: fit, clamping, operating clearance, hole alignment. If a fit is too tight or too loose, correct the dimension in the model rather than filing the part down. The usual clearance values are detailed in our guide to tolerances and clearances.
Keep the broken part, even in pieces: it serves as a reference for the scan, for visual comparison and for understanding the failure mode. Also send, if possible, the part it assembles with. Scanning both contact faces gives a far more reliable fit dimension than an estimate.
The limits to respect
3D printing doesn't replace every part. Certain situations call for giving up on it or, at the very least, require validation by a specialist:
- Safety parts: braking, lifting, load retention, personal protection, parts subject to certification. A printed part does not have the certified characteristics of the original part.
- High temperatures: common thermoplastics soften well below the operating temperature of a motor, an oven or a heating element. Check the actual temperature at the part's contact point.
- Intensive wear and friction: a heavily loaded gear or a part under continuous friction will wear out faster than an injection-moulded or machined part in a technical material. Nylon improves things without always matching the original.
- Food contact: the ridges of an FDM part trap residue and make cleaning harder, and not all materials or resins are safe for food contact. Do not reuse a printed part for this purpose without a guarantee on the material and the process.
- Measurement accuracy: a scan reproduces the part as it is, warped or worn. Functional dimensions must be checked and corrected, otherwise the inaccuracy of the measurement carries over into the new part.
Improving rather than copying
Reverse engineering is an opportunity to fix the flaw that caused the failure. The most common improvements are simple:
- adding a fillet at the root of a tab that breaks;
- thickening a wall or adding a rib;
- replacing a plastic thread with a metal insert;
- switching to a material more resistant to heat or UV;
- combining two glued parts into one.
For generic mounts and spacers, it is sometimes faster to start from an existing model: the parametric model library offers brackets, spacers, cable clips or enclosures whose dimensions you adjust.
Spare parts by industry
Constraints vary widely from one use to another: salt and UV on a boat, cabin heat in midsummer, vibration on a motorcycle, authenticity on a classic car. Our industry guides detail the typical parts, the suitable materials and the limits specific to each field:
- boat and sailing parts and 3D printing for yachting;
- automotive parts and classic and vintage car parts;
- motorhome, van and caravan parts;
- motorcycle and scooter parts.
Preparing a reproduction request
To quickly get an accurate part, provide:
- the original part (or its pieces) and, if possible, the part it assembles with;
- photos of the part in place;
- the function, the loads and the temperature of the environment;
- any dimensions you know to be critical;
- the desired quantity, especially if you want to build up a spare-parts stock.
Once the model is validated, it can be reprinted on demand: it is a digital stock that takes up no shelf space. To get started, you can request a 3D scan of an existing part.
Frequently asked questions
Can a broken part be reproduced without a drawing or a 3D file?
Yes. The geometry is captured by 3D scanning or by measurement with calipers, then the model is reconstructed and corrected. The pieces of the broken part are often enough, especially if the part has symmetry that allows the missing areas to be completed.
Is a 3D-printed spare part as strong as the original?
It can be, for many plastic parts, provided the right material and the right print orientation are chosen. An FDM part is weaker between layers, which is compensated for through design. For heavily loaded parts, the geometry is often reinforced compared with the original.
How accurate is a 3D scan for reverse engineering?
An industrial scanner reaches an accuracy on the order of a tenth of a millimetre, sufficient for most maintenance parts. The scan, however, reproduces the part's wear and deformation, so functional dimensions must be checked and restored to nominal during reconstruction.
Which parts should not be 3D printed?
Safety parts (braking, lifting, load retention), parts exposed to high temperatures, and those intended for food contact without a guarantee on the material. Parts subject to intensive wear also require case-by-case evaluation.