Four process families to know
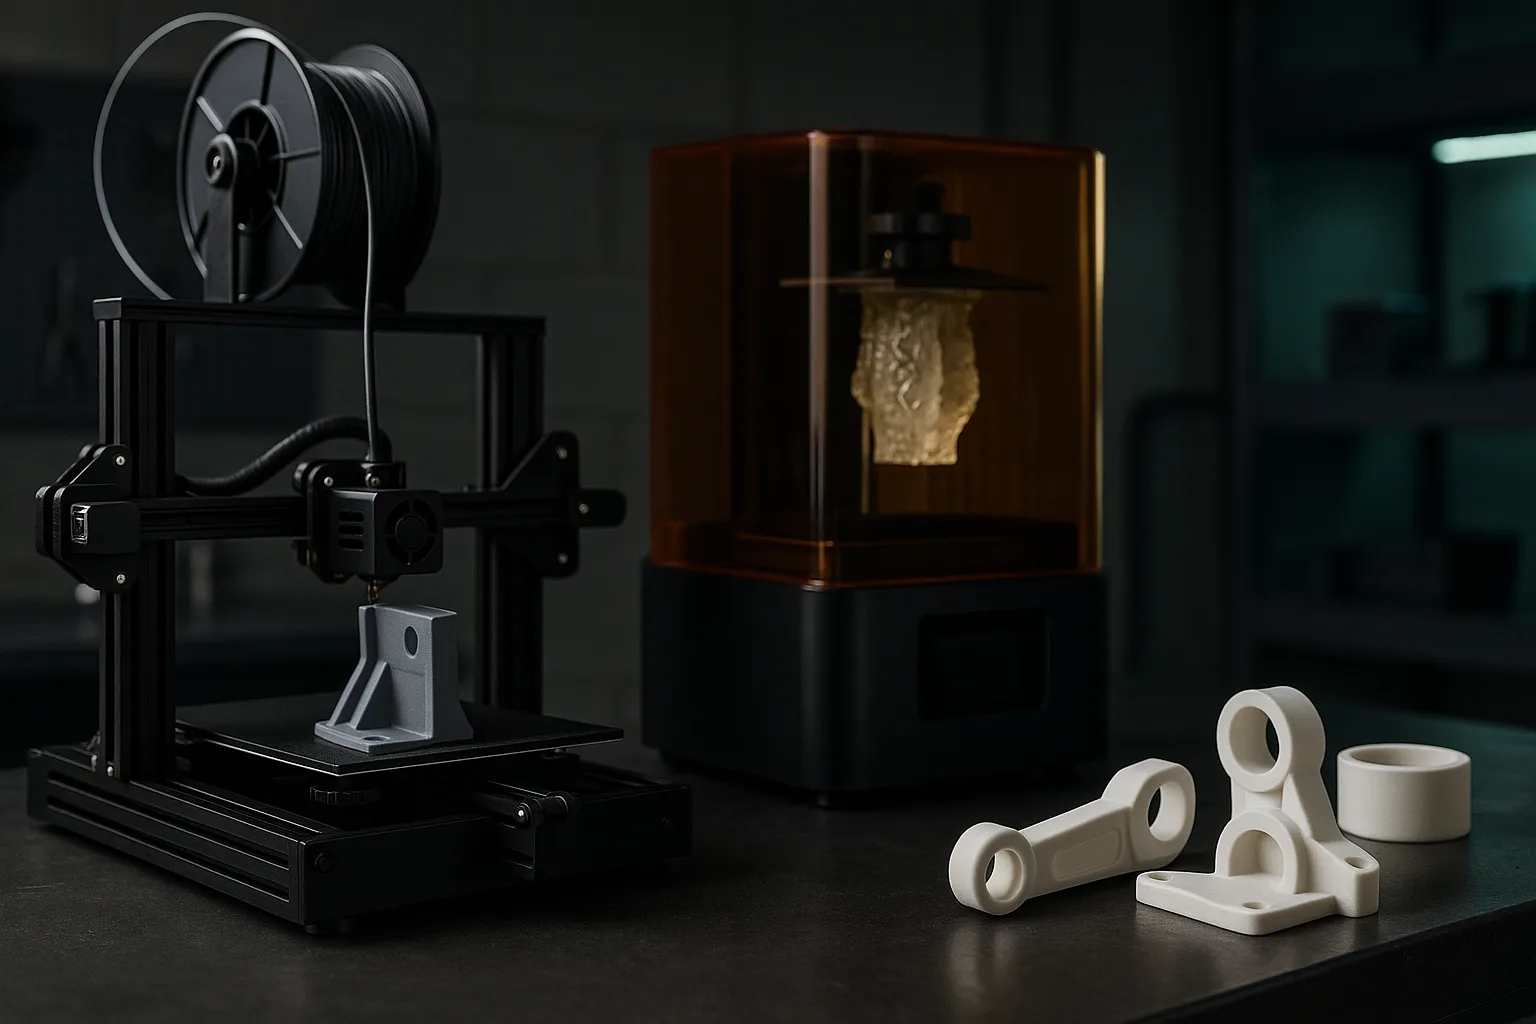
All 3D printing technologies build a part layer by layer from a digital model sliced into cross-sections. What distinguishes them is how the material is deposited or solidified. For professional or maker use, four processes cover most needs:
- FDM (fused deposition modelling, also called FFF): a thermoplastic filament is melted in a nozzle and deposited in beads.
- SLA / resin (stereolithography, and its DLP or LCD/MSLA variants): a liquid photosensitive resin is cured by light, layer by layer.
- SLS (selective laser sintering): a laser locally fuses a polymer powder, most often polyamide (PA12 or PA11).
- MJF (Multi Jet Fusion): a fusing agent is sprayed onto a powder bed, then an infrared source fuses the entire layer at once.
Other processes exist (material jetting such as PolyJet, metal laser fusion, binder jetting), but they address more specific needs and higher budgets. We focus here on the four technologies you will most often encounter when requesting a quote.
FDM: fused filament deposition
FDM is the most widespread technology, from desktop printers to production machines. A heated nozzle, generally 0.4 mm in diameter, extrudes a filament that solidifies as it cools. Common layer heights range from 0.1 to 0.3 mm: 0.2 mm is the standard compromise between fineness and print time.
Strengths
- Wide choice of technical materials: PLA, PETG, ABS, ASA, flexible TPU, nylon, carbon- or glass-fibre-filled composites.
- Functional, strong parts, capable of withstanding mechanical loads and impacts.
- Large volumes possible and moderate cost per part, especially for bulky parts.
- Multicolour and multi-material printing on machines equipped with multiple heads or a filament changer.
Limitations
- Visible layer lines and typical dimensional accuracy on the order of ±0.2 mm.
- Anisotropy: the part is noticeably weaker between layers (Z axis) than within the plane.
- Overhangs beyond about 45° require supports, which leave marks.
- Recommended minimum wall thickness around 1.2 mm (three beads with a 0.4 mm nozzle).
FDM is the right choice for mounts, enclosures, jigs, spare parts and functional prototypes. To go further on these uses, see our guide to 3D-printed workshop jigs and tooling.
SLA and resin: precision and detail
In resin printing, a light source (laser in SLA, projector in DLP, masked LCD screen in MSLA) cures a thin layer of liquid resin. Layers are typically 0.025 to 0.1 mm, giving an almost smooth surface and very fine details. Dimensional accuracy is around ±0.05 to 0.1 mm on modestly sized parts.
After printing, the part must be washed (isopropyl alcohol or a dedicated solution) then post-cured under UV to reach its final properties. The supports, which are essential, are removed and their attachment points sanded.
When to choose resin
- Figurines, mock-ups, appearance parts with details under a tenth of a millimetre.
- Visual prototypes intended for a presentation or a product photo.
- Small precision parts, masters for silicone moulding.
Standard resins are rather brittle and UV-sensitive over time. Technical resins exist ("tough", flexible, high-temperature), but for a mechanical part subject to impact, FDM or powder sintering generally remain more reliable. If you are starting from a photo to get a character, our article from photo to 3D figurine details the full workflow.
SLS and MJF: powder bed fusion
SLS and MJF share a principle: the part is built within a bin of polymer powder, and the unfused powder acts as a natural support. Direct consequence: no support structure is needed, which allows complex geometries, nested parts or printed mechanisms already assembled.
The difference lies in the energy source. In SLS, a laser traces each cross-section. In MJF, a head sprays a fusing agent and a detailing agent, then an infrared lamp heats the entire layer. MJF is often faster for filling a complete bin and gives slightly more uniform properties; SLS offers a slightly wider choice of powders.
Layers are around 0.08 to 0.12 mm, accuracy is around ±0.2 to 0.3 mm (or ±0.3% on large dimensions), and the surface finish is slightly grainy and matte. Raw parts are light grey (SLS) or grey (MJF), and are often dyed black. PA12's mechanical properties are close to those of an injection-moulded part, with much lower anisotropy than in FDM.
These processes are very well suited to small batches of functional parts: clips, hinges, housings, ducts. Our guide to prototyping and small batches in 3D printing explains when to switch to this type of production.
Technology comparison table
| Criterion | FDM | SLA / MSLA resin | SLS | MJF |
|---|---|---|---|---|
| Typical layer height | 0.1 – 0.3 mm | 0.025 – 0.1 mm | 0.1 – 0.12 mm | 0.08 mm |
| Typical accuracy | ±0.2 mm | ±0.05 – 0.1 mm | ±0.3 mm | ±0.2 – 0.3 mm |
| Raw surface finish | Visible layer lines | Smooth, highly detailed | Matte, slightly grainy | Matte, finely grainy |
| Supports | Yes beyond ~45° | Yes, always | No | No |
| Mechanical strength | Good, anisotropic | Medium, rather brittle | Very good, nearly isotropic | Very good, nearly isotropic |
| Materials | PLA, PETG, ABS, ASA, TPU, nylon, composites | Standard, technical, flexible resins | PA12, PA11, TPU, filled | PA12, PA11, TPU |
| Colour | Multicolour possible | Monochrome (painted afterwards) | White/grey, dyeing | Grey, black dyeing |
| Ideal use | Functional parts, large formats, jigs | Figurines, details, visual prototypes | Small technical batches | Small technical batches |
These values are workshop orders of magnitude: they depend on the machine, the material, the size and the orientation of the part. For clearances and fits, refer to our guide to tolerances and clearances in 3D printing.
How to choose the right technology
Rather than starting from the machine, start from the part's use. Ask yourself these questions in order:
- Does the part need to work mechanically? Loads, impacts, clips, screwing: go for FDM (PETG, ABS/ASA, nylon) or SLS/MJF for a production run.
- Does visual quality come first? Fine details, smooth surface, figurine or mock-up: resin is the obvious choice.
- What is the size? Beyond about twenty centimetres, large-format FDM is often the only economical process.
- What environment? Outdoor use, heat, UV, contact with oils: the material is what decides, see our guide to choosing a 3D printing material.
- How many copies? For a single unit, FDM and resin are unbeatable; for a few dozen or a few hundred, powder sintering becomes worthwhile; beyond a few thousand, compare with moulding, as explained in 3D printing or plastic injection moulding.
- Do you need several colours without painting? Only multi-filament FDM allows this directly; see multicolour 3D printing.
For a first prototype, don't look for the "perfect" technology. A quick FDM print validates the shape, footprint and assembly within a few hours. You will move to resin or sintering once the geometry is locked in, which avoids paying more than once for a costlier technology.
Real cases encountered in the workshop
- Sensor mount for a machine: FDM in PETG or ASA, 2 to 3 mm walls, orientation chosen so the load doesn't stress the adhesion between layers.
- 10 cm collectible figurine: resin, 0.05 mm layers, then painting; or multicolour FDM if a less fine finish is acceptable in exchange for directly printed colours.
- Fifty fastening clips: SLS or MJF in PA12, without supports, with reliable elastic behaviour.
- 50 cm fairing: large-format FDM as a single part rather than an assembly of glued segments.
- Unavailable spare part: 3D scanning then FDM printing in a technical material, an approach described in our guide to 3D-printed spare parts.
In our workshop in the Var, more than twenty machines run permanently in multi-material FDM and SLA resin, including a Bambu Lab H2D for large parts up to around 60 cm and multicolour printing up to 8 colours. If you don't have a file yet, the AI 3D Studio generates a printable part from a description or photos, with a free preview and an instant price.
Always state the part's actual use in your request: ambient temperature, loads, sun exposure, number of copies. This information guides the choice of technology more than the file itself.
Frequently asked questions
Which 3D printing technology is the most precise?
Among common processes, resin printing (SLA, DLP or MSLA) is the most precise, with layers of 0.025 to 0.1 mm and accuracy on the order of ±0.05 to 0.1 mm. It reproduces very fine details and an almost smooth surface. FDM sits more around ±0.2 mm.
What is the difference between SLS and MJF?
Both fuse a polymer powder, usually PA12, without supports. SLS uses a laser that traces each cross-section, while MJF sprays a fusing agent and then heats the entire layer with infrared. MJF is often faster on a full bin, SLS offers a slightly wider choice of powders.
Is an FDM-printed part strong?
Yes, provided the right material and the right orientation are chosen. A part in PETG, ASA or nylon with sufficient walls can withstand real loads. Its weak point is between the layers: the part must be oriented so the main load doesn't tend to peel the layers apart.
Which technology should be chosen for a figurine?
Resin is the benchmark for figurines because it reproduces fine facial details and textures. Multicolour FDM is an alternative if you want colours printed directly without paint, with a lower level of detail. The choice therefore depends on the priority between fineness and colour.