Why post-processing is often necessary
Each process leaves its own signature. In fused deposition modelling (FDM), successive layers create visible ridges, and overhanging areas keep traces of supports. In resin printing (SLA), the part comes out covered in liquid resin, not yet fully cured, and bristling with thin supports. These differences are covered in 3D printing technologies.
Post-processing serves three purposes, which should be distinguished before starting:
- Functional: making the part usable (supports removed, holes at the right size, threads, clean contact surfaces).
- Aesthetic: erasing the layer lines, achieving a specific colour or look.
- Durability: protecting against UV, moisture or wear.
A maintenance part hidden inside a machine only needs the first level. A presentation model requires all three. Defining this goal upfront saves you from spending hours sanding a part nobody will ever see.
Removing supports and deburring
In filament deposition
Supports are removed with flat pliers and a cutter, working in small pieces. Residual marks are erased with a deburring scraper or a fine file. For soluble supports (PVA, dedicated materials), a bath of lukewarm water is enough and leaves clean surfaces, which is valuable for inaccessible cavities.
In resin
The part first goes through a wash in a suitable solvent, usually isopropyl alcohol, to remove liquid resin. Supports are best cut before final curing, while the resin is still slightly flexible: they snap off cleanly without tearing material. Then comes UV post-curing, which gives the part its final mechanical properties.
The best finish starts before printing. Orient the part so supports touch the hidden faces, and place the visible face in the vertical plane: layer lines are less visible there than on a shallow slope, where the stair-stepping effect appears.
Sanding, priming, painting
This is the classic sequence for getting a smooth, painted surface.
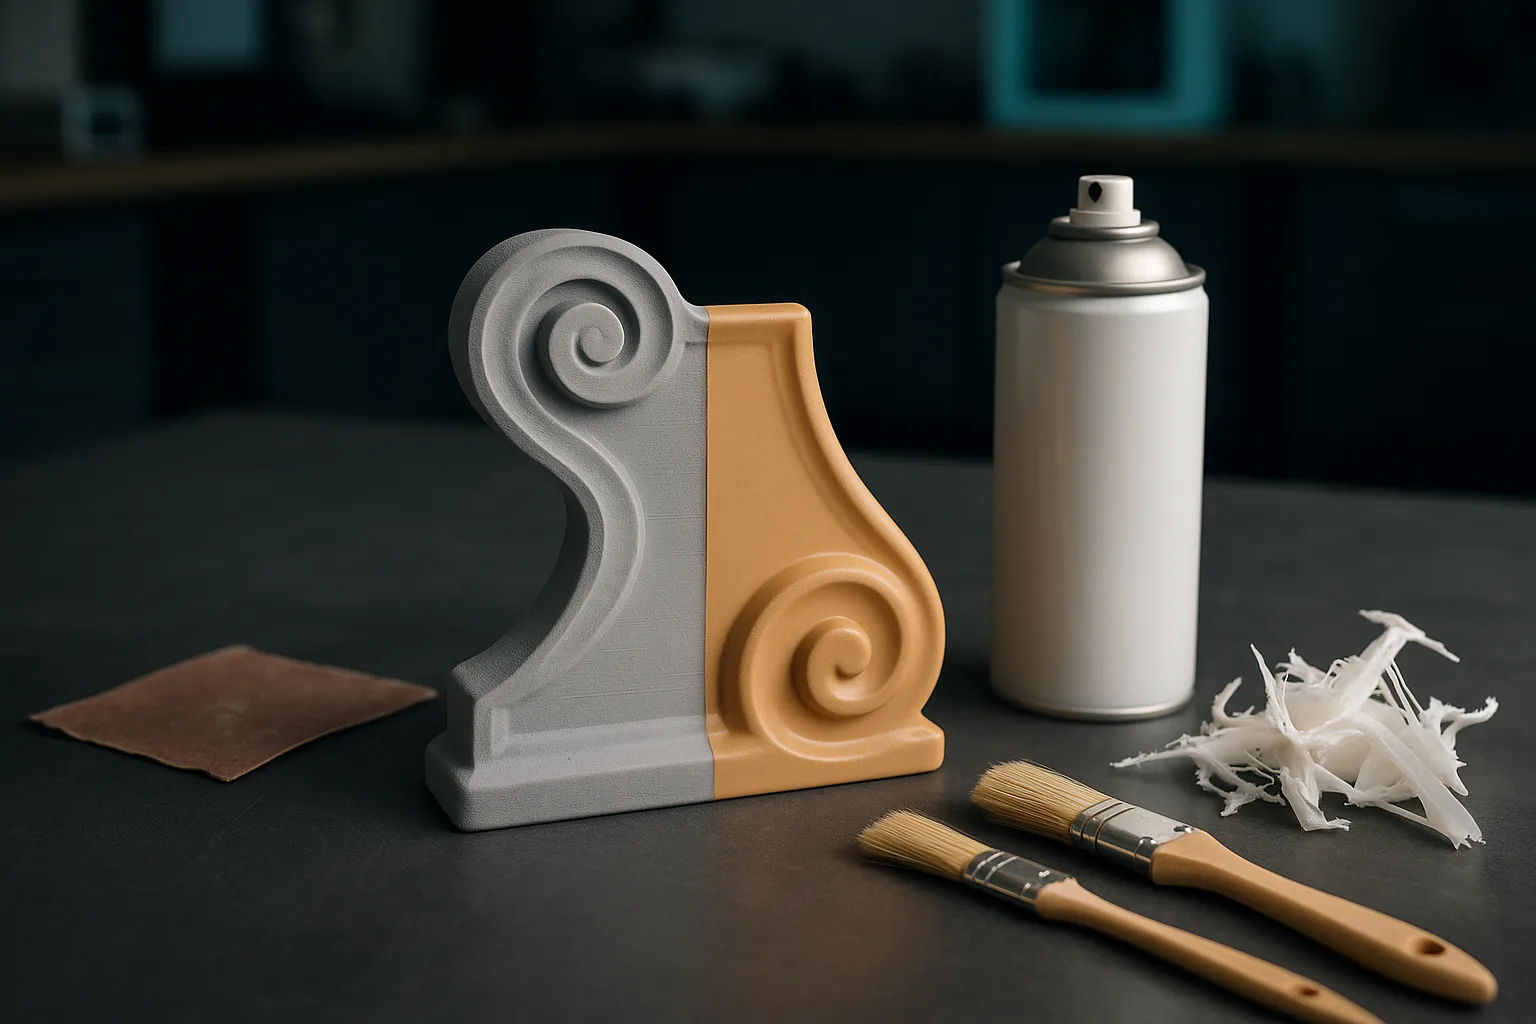
- Progressive sanding: start with 120 to 220 grit to erase the layer lines, then move up to 400, 800 and beyond. Wet sanding limits heat build-up, which can melt and pill PLA.
- Filler: fill hollows and joints with a fine body filler or a modelling filler, then sand again.
- Primer: a spray-on undercoat, applied in thin coats, reveals remaining flaws and gives a uniform key for paint. Two or three cycles of priming and fine sanding produce a surface close to that of an injection-moulded part.
- Paint: acrylic with an airbrush or spray can for large surfaces, by brush for figurine details.
- Varnish: matte, satin or gloss, it protects the paint and unifies the finish.
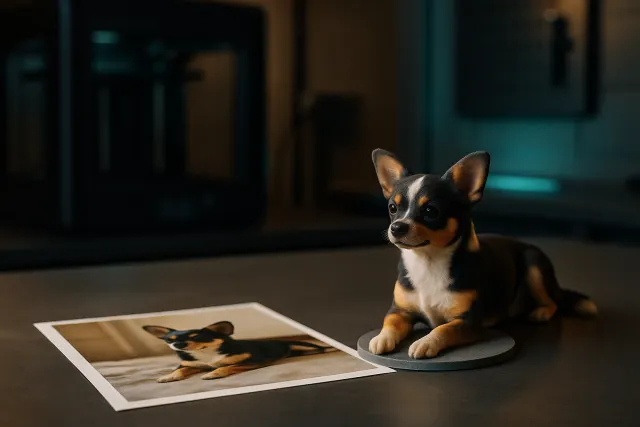
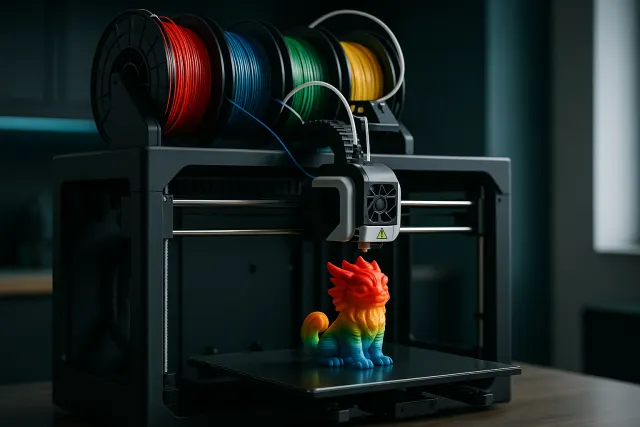
For resin-printed figurines, hand painting remains the gold standard; with multicolour filament, the colours are already in the material and a simple varnish can be enough. See from photo to 3D figurine and multicolour 3D printing.
Common painting mistakes
- Painting without degreasing: fingerprints and release residue prevent paint from adhering. A wipe with isopropyl alcohol before priming is enough.
- Loading the coats: a thick coat runs, blurs details and dries poorly. Several thin coats beat one heavy one.
- Painting under-cured resin: a still-tacky surface prevents paint from drying properly.
- Using a strong-solvent spray without testing: some solvents attack the plastic and make the surface swell. Test on an offcut or a hidden face.
- Ignoring drying times: sanding a primer that's still soft tears it off in patches.
Techniques by material
| Technique | Suitable materials | Result | Points to watch |
|---|---|---|---|
| Sanding | All | Layer lines erased, matte surface | PLA overheating, dimensional loss on functional areas |
| Primer and paint | All | Finished look, any colour | Adds thickness to fitted areas |
| Acetone vapour smoothing | ABS, ASA | Glossy surface, melted layer lines | Rounds off sharp edges, flammable solvent, use with ventilation |
| Surface epoxy resin | PLA, PETG, résine | Smooth, glossy surface | Thickness hard to control |
| Bead blasting | Nylon, technical parts | Uniform satin finish | Requires dedicated equipment |
| Dyeing | Nylon (PA) | Colour through the surface layer | Works poorly on other materials |
| UV varnish | All, especially outdoors | Protection against yellowing | Does not make up for a material unsuited to UV |
The material you choose therefore determines which finishes are possible: ASA smooths with acetone, PLA doesn't. Check our guide to 3D printing materials before starting a part that will need a specific finish, as well as the list of materials available at the workshop.
Functional finishes
Some operations aren't about looks but about use:
- Threaded inserts: brass inserts installed hot with a soldering iron give a metal thread that withstands repeated assembly and disassembly, unlike a thread tapped directly into plastic.
- Reaming and re-drilling: for a precise fit, print a slightly undersized hole and bring it to its final dimension with a drill bit or reamer.
- Tapping: possible in sufficiently thick material, for lightly loaded screws.
- Gluing and assembly: cyanoacrylate glue for most materials, epoxy glue for stressed joints; PETG and nylon bond less well and need surface preparation.
- Watertightness: an FDM part isn't watertight by default; a varnish or surface resin markedly improves the result.
These operations change dimensions: a few tenths of a millimetre of paint are enough to jam a snug fit. The clearances to plan for are detailed in tolerances and fits in 3D printing.
Mask contact surfaces, bores and threads with masking tape before priming and painting. It's far easier to protect a functional area than to later strip three coats of paint out of a 4 mm hole.
Equipment and precautions
Most finishing work can be done with modest tools: wire cutters, a cutter blade, files and a deburring scraper, abrasive papers of several grits, a sanding block, filler, primer and paints. A soldering iron with dedicated tips is enough to install threaded inserts. A few precautions remain essential:
- Uncured resin: it irritates the skin. Wear nitrile gloves during washing and support removal, and never pour resin-laden washing alcohol down the sink; let it settle in sunlight, then dispose of the cured residue at a waste facility.
- Sanding dust: sand wet or wear a dust mask, especially with carbon-fiber or glass-fiber-filled materials.
- Solvents: acetone, thinners and spray paints should be used in a well-ventilated space, away from any flame.
- Heat: a heat gun can remove fine print strings, but quickly deforms a thin part; work from a distance and in short passes.
Choosing the right finishing level
| Part's use | Recommended finish |
|---|---|
| Maintenance part, jig, tooling | Supports removed, deburring, inserts if frequently disassembled |
| Functional prototype | Deburring, rework of fits |
| Presentation model, client sample | Sanding, priming, painting, varnish |
| Figurine | Hand-painted resin or varnished multicolour filament |
| Outdoor part | UV-resistant material, protective varnish |
Finishing has a real cost, often higher than machine time for an aesthetic part: it's one of the factors detailed in the price of 3D printing. For workshop jigs and tooling, a minimal finish is almost always enough. For a small batch of display parts, it's also worth comparing with other processes, as explained in 3D printing versus plastic injection.
At the Timelapse-3D workshop, in the Var, the finish is chosen at the time of ordering, together with the material. Whether the part comes from your own file or from the AI 3D Studio, stating its final use remains the best way to get the right balance between appearance, dimensional accuracy and cost.
Frequently asked questions
How do you make a 3D-printed part smooth?
The universal method is progressive sanding, from 120 grit up to 800 or finer, followed by priming and fine sanding. For ABS and ASA, acetone vapour smoothing gives a glossy surface but rounds off edges. Good print orientation greatly reduces the work needed.
Can a PLA-printed part be painted?
Yes, as long as the surface is lightly sanded and a primer is applied before painting. Acrylic paints, whether spray, airbrush or brush, adhere well to a primed surface. A final varnish protects the paint from scuffing.
What finish should be chosen for a functional part?
A functional part mainly needs clean support removal, deburring and rework of critical fits with a drill bit or reamer. Brass threaded inserts are recommended if the part is often disassembled. Paint should be avoided on contact surfaces.
Why does a resin part need to be post-cured?
Straight out of the printer, the resin isn't fully cured and the part doesn't yet have its final mechanical properties. After washing, UV exposure completes the curing. The part becomes harder, more stable and stops being tacky on the surface.